Ultrasonic coin cleaning is an effective way to clean coins, requiring very little interaction from you.
If you haven’t tried it before, don’t be nervous.
It’s easy and better yet, I’m here to walk you through everything you need to know.
From the right frequency to use to the perfect solutions, I’ve got your back with this handy guide.
But before we dive in and start cleaning some coins, I have my usual warning to you about cleaning anything you find metal detecting…
** Disclaimer ** – While the methods below have been tried and tested, I recommend consulting a professional before attempting to clean any coin you think to be valuable.
What Is an Ultrasonic Cleaner?
An ultrasonic cleaner uses sound waves and a cleaning solution to remove dirt and other grime from the intended objects. These objects are usually collectible metals, machine parts, or precious gems.
This combination of ultrasonic waves and non-abrasive liquid triggers a process known as cavitation.
It would help if you thought of cavitation as a shockwave of building pressure. This pressure attacks the impurities in a solution and any submerged items.
To help you grasp the science behind it, cavitation is cleaning the object in the tank through tiny explosions of air.
But we’ll get more into the nitty-gritty of how it works in a bit.

What you should know is that ultrasonic cleaners come in many different sizes.
The larger the object to clean, the larger the ultrasonic cleaner should be. But you Diggers will look at a small cleaner for most of your finds.
You should easily fit it on a countertop or move it up and down the stairs with ease.
Whether you’re cleaning coins, jewelry, gold, or silver, an ultrasonic cleaner can shine up these metals nicely.
Cleaning Coins with An Ultrasonic Cleaner

Let’s get into how ultrasonic cleaners can help you with your coin collection.
You’ve probably seen some old, crusty coins in your time.
These are the ones that look like they were dug up yesterday and have all sorts of dirt and grime caked on them.
Ultrasonic cleaners can take care of this problem quickly and easily.
No more baking soda pastes or the smell of vinegar on your hands.

Nope. Now you’re dealing with ultrasonic waves that will break up the dirt and grime, making it easy for you to rinse it away with water.
In fact, most of the time, you’ll be left with a clean coin that looks shiny and new.
But why?
Why does using an ultrasonic cleaner work? And why should you use one to clean your coins?
If you’ve read any of my cleaning series articles, then you know cleaning coins is a delicate process.
Overcleaning is a real thing. Damaging the value or history of a newly dug coin is easier than you might think.
Or maybe you’ve learned that on your own.

An ultrasonic cleaner makes quick work of a dirty job.
But, like using electrolysis to clean your finds, the chemistry involved requires your extra attention.
And before you go any further, I’ll give my usual bit of advice on cleaning anything you find.
If you can avoid cleaning it, great!
A coin with a bit of tell-tale age on it is better than a 100-year-old coin looking like it’s fresh from the mint.
If you suspect the coin of having any value at all, seek out a professional for their opinion. Once you go too far and wipe away the patina, there’s no going back.
With that said, you’re free to keep reading without a peep from me.
How Ultrasonic Cleaning Works
According to Mohendra Shiwnarain, contributing author of Science Trends and Master of Biotechnology,
Ultrasonic cleaning devices cause many mini shockwaves in the liquid solution, which agitates the dirt.
Mini shockwaves? Yeah, you read that right.
You might not be able to see the power in it firsthand, but it’s there.
If you want a peek at the life cycle of an ultrasonic cleaner doing its job, keep reading.

Ultrasonic coin cleaning is popular because it’s able to loosen up and remove the dirt that clings to the tiny grooves of a coin. You would most likely use these machines to attack those areas that can be tough to clean straight on.
When you do start the ultrasonic cleaner and your coins are resting at the bottom of the liquid solution, the machine’s motor starts to work its magic.
The motor is what kickstarts the ultrasonic waves. You’ll know it’s working when you see tiny bubbles form in the solution.
These bubbles are the key to cleaning your coins with an ultrasonic cleaner. They are known as cavitation.
What Is Cavitation?
Britannica.com defines cavitation as the formation of vapor bubbles within a liquid at low-pressure regions that occur in places where the liquid has been accelerated to high velocities.
Too sciency?
So you and I can understand what that means, the process of cavitation can be explained in three simple steps.
- The ultrasonic waves turn the liquid into a gas (air bubbles).
- The bubbles grow to the point of peak pressure.
- The bubbles explode, applying that pressure toward the dirt.
Cavitation is excellent for removing dirt, oxides, and other layers of unwanted debris like oil and grease.

Depending on the type of contaminant layer, the cleaning time will take longer than others.
For example, rust requires you to run the ultrasonic cleaner longer than say a single layer of mud.
In some cases, the dirt is not only removed but can also dissolve in the liquid solution.
How to Clean Coins with Ultrasonic Cleaner: Step by Step
Do you Diggers feel smarter yet?

Well, we got through most of the science stuff together. Now, you’ll get to learn how to clean coins in an ultrasonic cleaner.
Step 1 – Set up Your Cleaning Station
Being prepared is the key to a successful coin cleaning. Make sure you have everything you need within arm’s reach.
And be sure to set up someplace safe. You don’t want to have your ultrasonic cleaner running near any flammable liquids.
Your machine and its contents will be hot!
Finally, give your coins a gentle cleaning before you begin. It’ll save you time and make the ultrasonic process work much faster.
Just a simple wiping away of loose dirt and a quick rinse should do it.
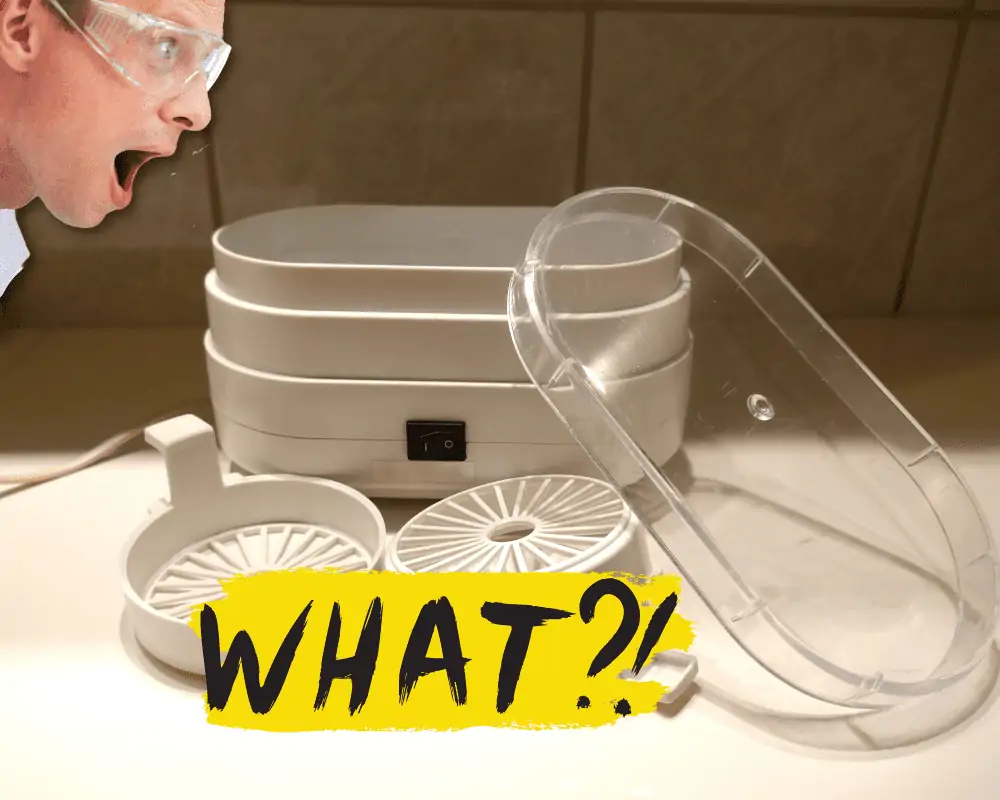
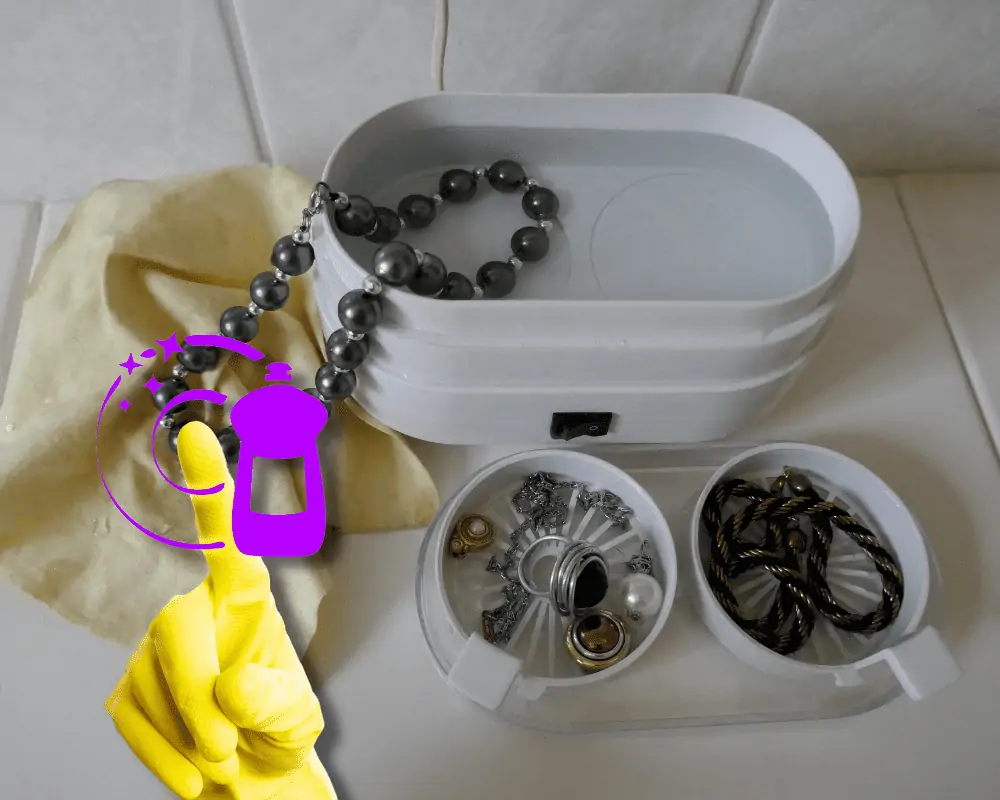
Step 2 – Fill the Tank and Turn It On
Your ultrasonic cleaner will have a tank inside. You should find a basket sitting within the tank.
The basket is for your coins, but first, you need to add your solution.
You’ll most likely see an engraved line inside the tank. This will let you know how far to fill the solution.
You could choose your liquid solution based on the items you are cleaning, or just go with a safer and more universal method. More on that later though.

Once your tank is a third of the way full, plug it in and turn it on.
Depending on your model, it should start heating up. If not, you’ll need to do that separately now.
Step 3 – Degassing Your Tank (Unless You’re Using Solution from The Last Time You Cleaned)
Degassing is what it sounds like. You will remove any existing gases in the liquid.
But we’ll dig more into that later.
Your ultrasonic cleaner may have a degas function. If so, perfect!
If not, no big deal. Just let your ultrasonic cleaner and heater run for 10 minutes before moving to the next step.
Step 4 – Drop in The Coins and Wait
Now you can drop in the coins you want to be cleaned into the basket.
You want to let them sit while the cavitation process runs its course.
Your time will vary depending on the condition of the dirt you’re trying to remove.
Step 5 – Remove the Coins
When you’re satisfied with the look of the coins, turn off your machine and pull them out.
You can then rinse off any loose dirt left on the coin’s surface. Distilled water is fine.
Then, pat them dry with a soft towel and let them dry.
And you’re done!
How Long Does It Take to Clean Coins with An Ultrasonic Cleaner?

The time it takes to clean coins with an ultrasonic cleaner will vary. But generally, it’s fast.
Faster than other methods to be sure.
On average, you’ll run an ultrasonic cleaner for 3 to 5 minutes for any coins you found metal detecting.
Any longer than that and you risk damaging the coins.
Will an Ultrasonic Cleaner Damage Coins?
An ultrasonic cleaner can damage coins. You’re dealing with a reaction that is similar to an explosion. It’s just on a microscopic scale.
Some factors to be aware of when it comes to cleaning coins and possible dangers:
- If using a larger tank meant for industrial cleaning, the pressure used to clean items will be too much for the coins.
- Be mindful of the solution you use. Harsh or extremely acidic liquids will do more harm than good.
- Use the right frequency on your machine. Lower frequencies will create larger and more powerful bubbles. For coins, a slightly higher frequency is best.
- Don’t leave your coins in too long. If you do, you’ll risk exposing them to cavitation erosion?
What Is Cavitation Erosion?
I’m glad you asked.
Cavitation erosion is the process of ultrasonic waves damaging surfaces of the submerged items.
If left in too long, pitting will occur on the surface of your coins. This is often due to temperatures being too low or using the wrong frequencies.
It’s more likely to happen with metals that are softer. So, be extra careful when cleaning gold coins.
Silver is a little more resistant but can still be damaged if you’re not careful.
Speaking of silver, cleaning with an ultrasonic cleaner works just fine.
But if you’re trying to get rid of the tarnish, think again. That’s something that you’ll need to do separately.
Ultrasonic Cleaner Solution for Coins
You’ve probably been wondering what kind of solution to use and why I haven’t mentioned it yet.
Well, there are varying opinions on what to use. So, let’s get into it.
What Does the Cleaning Solution Do for Ultrasonic Cleaning?
The cleaning solution you use will affect the ultrasonic process.
It provides a suitable environment to create cavitation and increases the dissolving power of an ultrasonic cleaner.
In short, without a proper cleaning solution, you won’t have much luck with getting that shiny coin you’re waiting on.
For example, using regular water in your tank won’t work very well. It naturally resists cavitation. Much like electrolysis tanks resist the flow of electricity without the proper solution.
Can I Use Isopropyl Alcohol in An Ultrasonic Cleaner?

No, you cannot use isopropyl alcohol in an ultrasonic cleaner for coins. Isopropyl alcohol is as flammable a solution as you can find.
With the heat being generated by the ultrasonic cleaner and the vapors produced by any flammable solvent, you’re asking for trouble.
If you don’t already know, a flash point is a temperature at which a liquid will produce enough vapors to create an ignitable mixture with the air.
Isopropyl alcohol has a flash point of 53 degrees Fahrenheit. Meaning, that it’s extremely easy to ignite.
It would take the slightest of sparks to set the air on fire.

Even if you were extremely cautious and eliminated any chance of igniting the vapors, the fumes alone are enough to cause eye, throat, and nose irritation.
Why would you even bother to use this solution with so much risk?
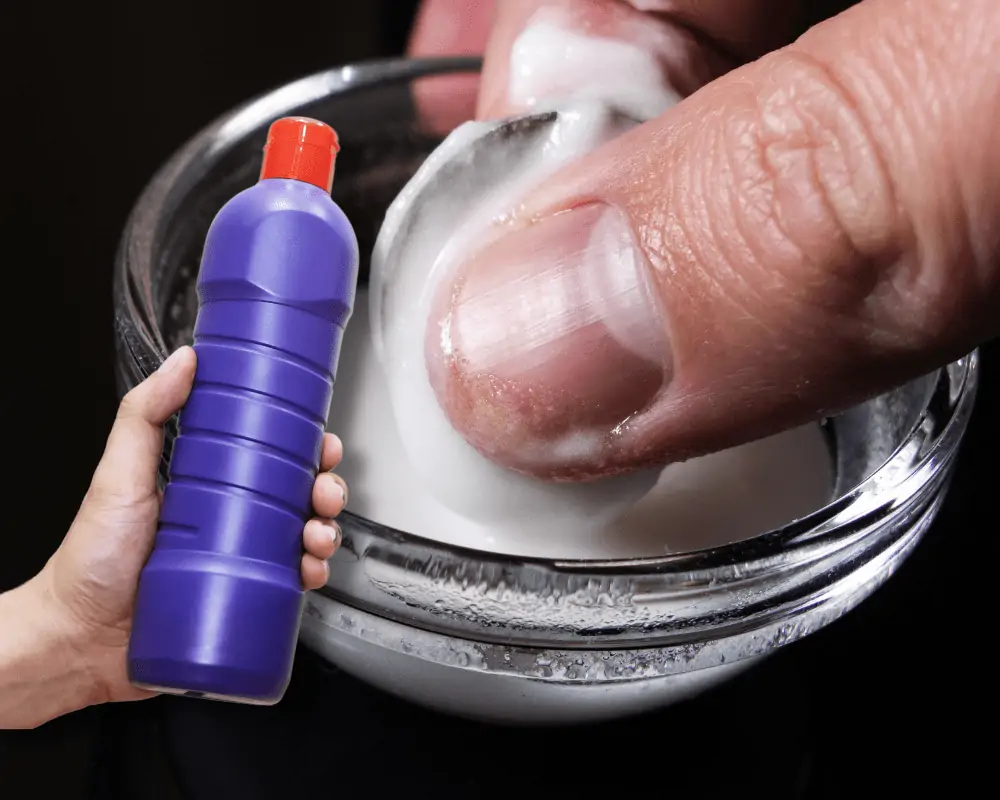
Can I Use Dishsoap in My Ultrasonic Cleaner?
You can absolutely use dish soap in your ultrasonic cleaner. In fact, I recommend it.
Dish soap gives your solution a little extra kick to fight the grease and grime covering your coins. It’ll loosen the dirt as the ultrasonic cleaner sends out those initial vibrations.
You won’t need much dish soap to add to your mixture.
I mean it!
At most, you’ll need a drop or two. Any more than that and you’ll run into problems with suds.
What Is the Best Solvent for Ultrasonic Cleaner?

The best solvent for ultrasonic cleaners is a mixture of de-ionized water and dish soap.
De-ionized water is the safest liquid solution for anything you would put in an ultrasonic cleaner. This is why it’s your best option for solvents.
De-ionized water is pure. Which means it is free of any minerals or chemicals.
It’s also a great conductor of ultrasonic waves. This ensures that your ultrasonic cleaner is working as efficiently as possible.
You can find de-ionized water at your local hardware store.

Another great option is distilled water.
While it’s not as pure as de-ionized water, it’ll still get the job done.
Distilled water is just regular water that has had impurities removed through a distilling process.
This makes it a great second choice for ultrasonic cleaning solutions.
A final thought on the solution you should be aware of; whatever solution you use, it should be warm.
Warm water will make the cavitation process easier to occur.
Can I Use Tap Water in Ultrasonic Cleaner?

No, you should not use tap water in ultrasonic cleaners.
While it’s not as bad as using isopropyl alcohol, there are still some concerns associated with using tap water.
Tap water contains minerals and chemicals that can damage your ultrasonic cleaner over time.
The issue with tap water is that those excess minerals can lead to build-up in the tank. Especially if your water is hard water.
Hard water is water that has a high concentration of minerals.
These minerals can include calcium, magnesium, and iron.
While these minerals are not necessarily harmful to you, they can wreak havoc on ultrasonic cleaners.
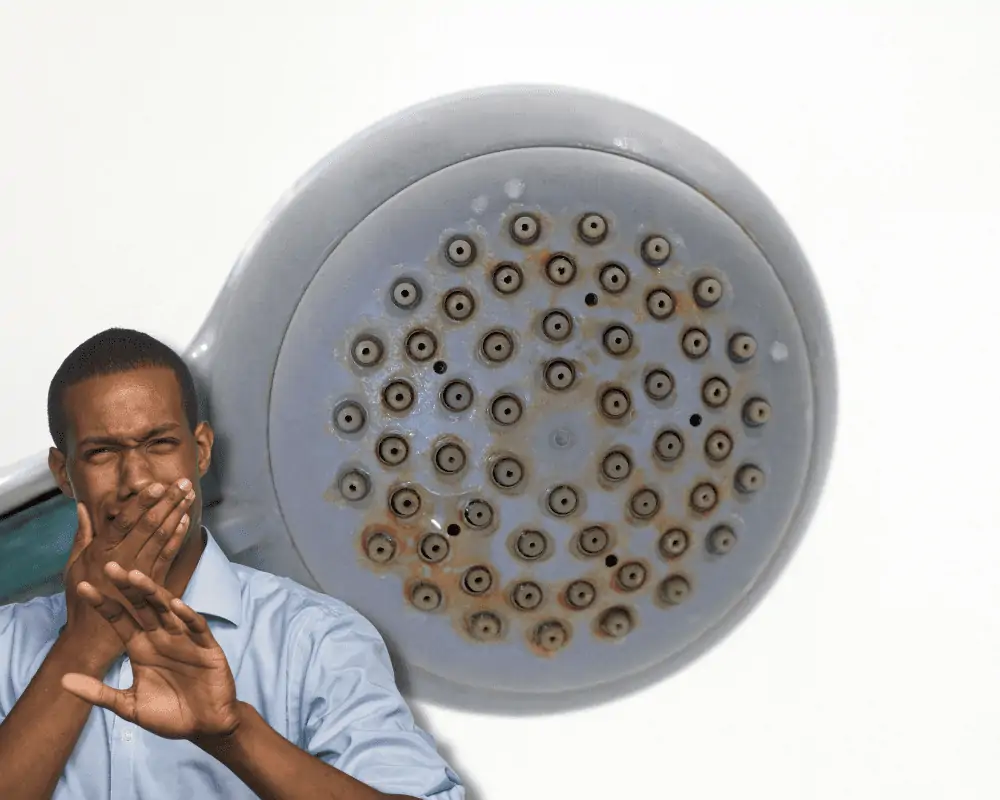
You’ve probably seen an example of this on your shower head. Those little crusty flakes covering up the pin holes are caused by hard water.
It’s also important to note that not all ultrasonic cleaners are created equal.
Some ultrasonic cleaners are better equipped to handle impurities than others. Mostly industrial models.
However, it’s always best to err on the side of caution and use de-ionized water.
How Often Do You Need to Change the Cleaning Solution?

While you can use the same solution a few times before changing it out, you should change the cleaning solution every time you use the ultrasonic cleaner.
That might seem like a lot, but it’s necessary to clean your coins effectively.
If you don’t change it regularly, over time, the cleaning solution will become less pure. This is due to the build-up of dirt and grime in the solution.
The less pure your solutions are, the longer it will take to clean your coins.
You’ll start to notice a lot of gunk and dirty flakes in the liquid as well.
So, it’s important to change it out to ensure that your ultrasonic cleaner is working at peak efficiency.
Best Ultrasonic Cleaner for Coins Found Metal Detecting

The best ultrasonic cleaner for coins found metal detecting is the Magnasonic Professional Ultrasonic Cleaner.
It’s the perfect size for cleaning coins and has all the features you will need. Like a tough stainless steel container, 5 preset cleaning cycles, and operates at the ideal frequency your coins need.
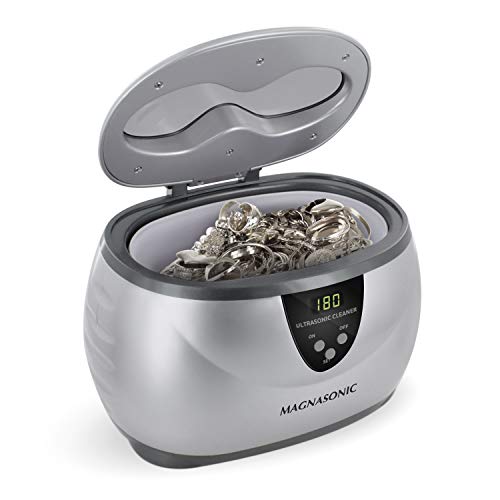
- Produces 42,000 Hz ultrasonic waves. This is the best frequency for coins due to their smaller size.
- You get 5 cleaning cycle presets. You won't worry about letting your coins sit too long. Just use one of the 5 preset run times.
- 20 oz available space in tank. This is plenty enough room for coins. You won't risk their value because of improper equipment.
- It only weighs 2 pounds. So pick up and move your cleaner wherever you want!
- You'll find it so easy to use. Just select your time preset and your new cleaner will take care of the rest.
Don’t waste your time buying one of those larger tanks just to clean your coins. It’s a waste of money for your needs.
Unless of course, you are dealing with some next-level kind of dirty coin.
Coins that have experienced severe oxidation may require a larger tank. The problem with that is, that you risk destroying the patina with the extra power that comes with it.
FAQ’s About Ultrasonic Coin Cleaning
You have questions and I’ve got answers.
Can You Put Gold in An Ultrasonic Cleaner?
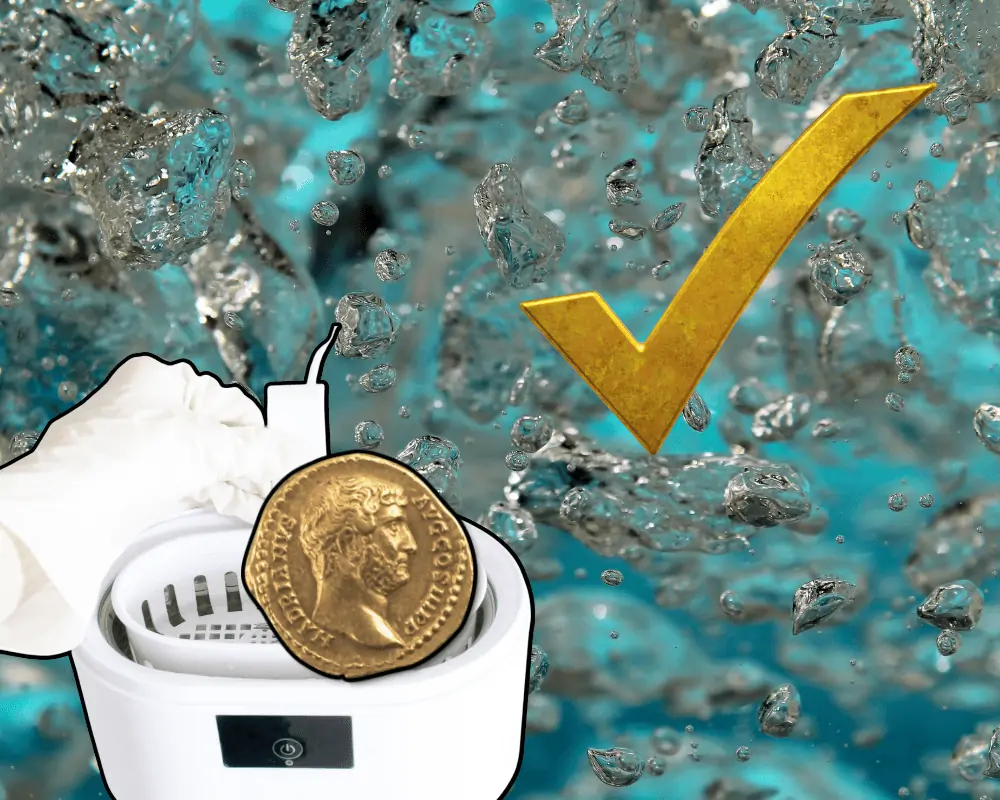
Yes, you can put gold in an ultrasonic cleaner.
Gold, as well as most precious metals, are perfectly fine for you to clean in an ultrasonic cleaner.
The ultrasonic waves will not damage or degrade the quality of the gold in any way.
In fact, ultrasonic cleaners are often used to clean jewelry because they do such a good job.
Just be sure that you’re using the appropriate cleaning solution.
What Is the Best Ultrasonic Cleaner Solutions for Jewelry?
If you’re looking for the best ultrasonic cleaner solution for jewelry you can make at home, it’s water and dish soap.
You’ve already learned about the benefits of using distilled or de-ionized water. But if you’re in a bind, tap water will work.
Just add a drop of dish soap to help with the cleaning.
But, if you’re looking for something a little more specialized, pick up some Blitz 653 Gem and Jewelry Cleaner.
It’s a concentrate that you add to water.
And it’s specifically made to work in ultrasonic cleaners meant to clean your precious pieces of jewelry.
What Not to Put in An Ultrasonic Cleaner

Don’t do it!
Whether it’s an acidic solution mix or a certain kind of metal, there are some definite no-no’s to keep away from your ultrasonic cleaner.
Here are just a few of them.
Jewelry with loose stones – If your rings, bracelets, or earrings have any loose gems in them, don’t put them in an ultrasonic cleaner.
The pressure built by the ultrasonic waves will most likely dislodge them from their setting. Then you’ll be looking to get them repaired, not just cleaned.
Solutions with an acidic makeup – Using acidic solutions isn’t all that bad. It’s great for removing rust and other tough minerals.
But if you have a stainless steel cleaner, be wary of the constant use of acidic solutions.
They can break down the ultrasonic cleaner tank. Letting corrosion set in.
Tungsten jewelry – You might not think that tungsten would be a problem. It’s a naturally tough metal.
But rings and other jewelry you may own made of tungsten are actually made of tungsten carbide.
This metal reacts poorly in ultrasonic cleaners. The ultrasonic waves may chip away at your jewelry and trap dirt in microscopic fractures along the surface.
Essentially, doing the opposite of what an ultrasonic cleaner is supposed to do.
What Is Degassing and When Should I Do It?

You’ve heard us mention degassing in the process of cleaning your coins.
But what is it? And why should you care?
Degassing is the process of removing dissolved gasses from your ultrasonic cleaning solution.
You’ll find that these gasses appear any time you replace your cleaning solution.
So unless you are re-using your old solution, you will need to degas before putting your coins inside the tank.
If you don’t degas your solution, it’ll still work. You’ll just have to wait a lot longer to get the kind of clean you’re looking for.

You see, those dissolved gases exist in the form of air bubbles. Not the good kind you find in cavitation.
These ‘bad‘ bubbles suck the energy away, created by the ultrasonic waves.
Your tank will eventually clean the coins. But the rate will be slower due to the stealing of energy.
Now you’re probably wondering how to avoid this. How do you degas your cleaning solution?
It’s super simple, trust me.

If you have a degas function on your ultrasonic cleaner, just turn it on!
But if you don’t have this feature, you can either let your solution sit for a few hours before you place your coins in it.
Or you can turn on your ultrasonic machine and let it heat up for 10 minutes before you dump your coins in the tray.
The gases will dissipate on their own with either method.
Just remember, if you want a faster clean, degas your solution!
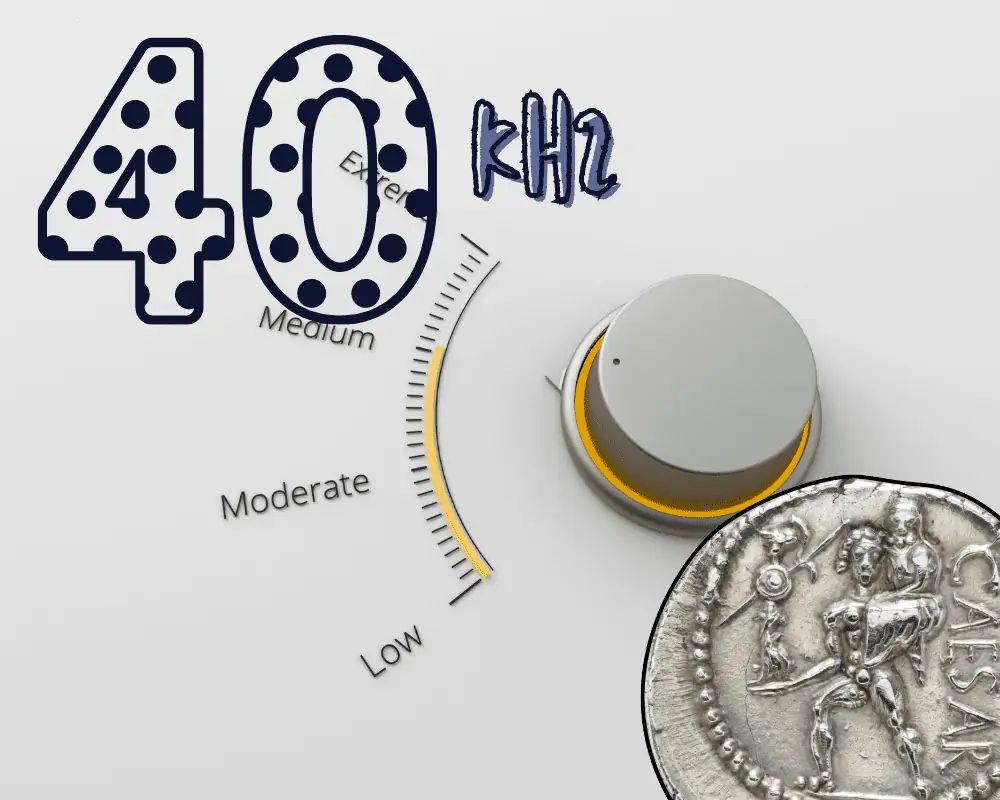
What Frequency Should I Use to Clean Coins in An Ultrasonic Cleaner?

The frequency you use to clean your coins is important.
You want to make sure you’re using the right method and the right ultrasonic cleaner for the job.
For coins, you should be using a 40 kHz frequency in an ultrasonic cleaner.
This will give you a gentle cleaning without damaging your coins in any way.
If you have a higher frequency ultrasonic cleaner, you can use it (on the appropriate frequency).
But I would recommend sticking to the 40 kHz ultrasonic cleaners for this task.
Just so you know, a higher frequency won’t make for a better cleaner. If your frequency is higher than 40 kHz, you may start to wonder why it’s not working.
These higher frequencies are meant to be more gentle.
If you wanted to clean a set of scalpels meant for surgery, you’d use a higher frequency.
The cavitation bubbles will penetrate every nook and cranny, removing dirt on a microscopic level.
But it’s not ideal for cleaning coins.

On the end, using a lower frequency won’t help you either.
Anything less than 40kHz is meant for larger items with a tougher layer of dirt or rust on them.
It’s like boxing with a brick hidden under your glove. You won’t see it coming, but you’ll sure feel it.
Final Thoughts on Ultrasonic Coin Cleaning
Thanks for sticking with me on this and I really hope you gained some insight into ultrasonic coin cleaning.
Just keep in mind these important facts and you’ll do just fine.
- Use the right ultrasonic cleaner (size matters here).
- Use the right solution (safer is better).
- Use the right frequency (40kHz!).
- Keep your water warm and your time short.
Everything else is gravy.
Good luck with your coin cleaning Diggers!