As any devoted metal detectorist will tell you, there’s much more to the lifestyle than simply swinging your detector around and expecting treasure.
Getting the most out of every situation requires being prepared for the unknown.
And whether you’re combing the beach, hunting in the woods, looking for coins, or starting in the backyard, I’ve got a quick hint or tip.
This isn’t just one ultimate list. It’s seven of the best metal detecting tips for seven dirt fishing scenarios.
So, without further ado, let’s get to it!
7 Metal Detecting Tips for Everyone

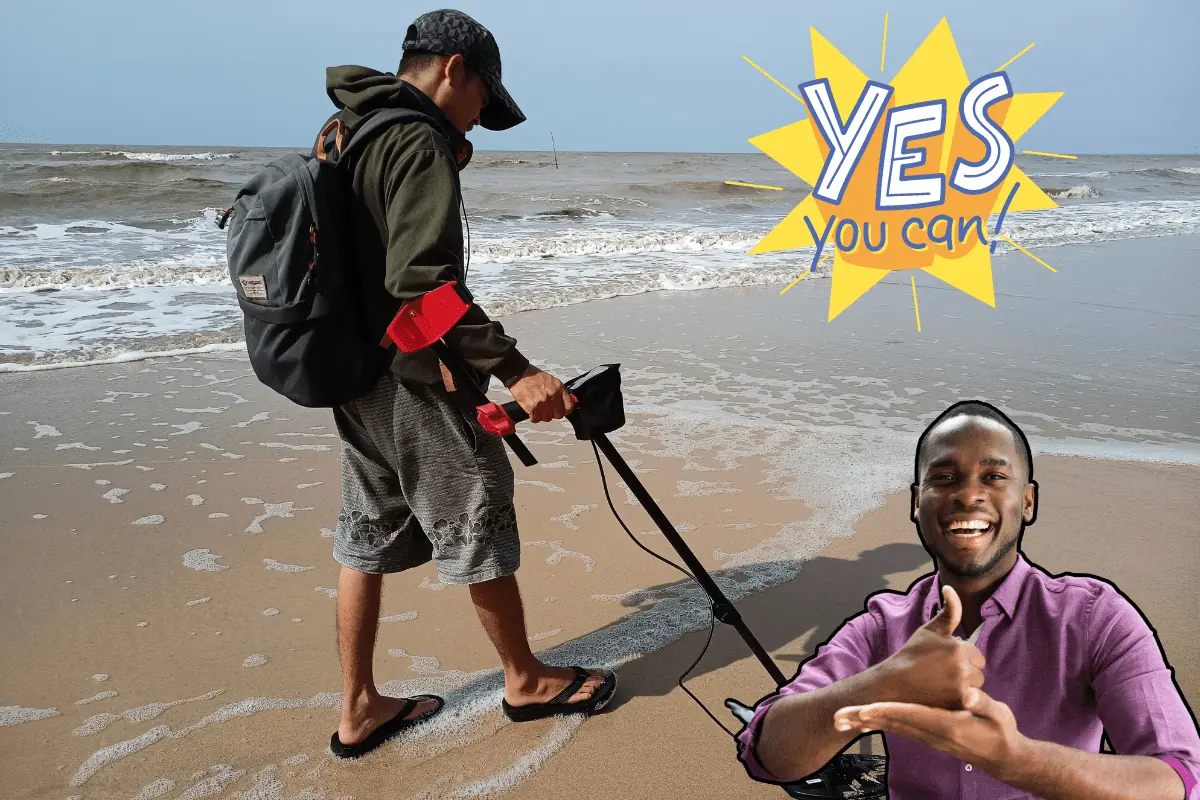
1. Don’t Discount Previously Searched Sites
Don’t take the bait!
If you’ve searched a specific area more times than you can count, but you’ve heard the tales of incredible finds getting picked over just around the corner, don’t get antsy.
The allure of fresh dirt can pull you away from the discovery of a lifetime. Metal detecting is about perseverance; you never know when you might get lucky. And each piece of property has its history with treasures waiting for you to discover.
Some areas see more recent traffic than you know. Occasionally a previous detectorist will stir up the ground just in time for you to come along and reap the rewards.
My point is that you never know when your metal detector will pick up that elusive tone you swore wasn’t there before.
So don’t rule anything out.
2. Rehydrate the Grass

Metal detecting tip number 2 is for anyone who wants to metal detect without damaging their lawn or anyone else’s.
You can rehydrate the grass by carrying a spare water jug or spray bottle and generously spritzing over the area you just dug up.
A bit of added moisture helps to keep the blades of grass from becoming too brittle and breaking.
Otherwise, the property owner might regret permitting you to dig.
3. Carry a Test Coin
Metal detecting tip number 3 is for you for those dealing with untimely false signals.
A familiar test coin can allow you to quickly check your metal detector’s sensitivity and depth to verify that your detector is functioning correctly.
Place the coin in the ground and pass your metal detector over it to see how deep it registers.
It’s a simple trick to save time and avoid frustration while metal detecting.
4. Avoid Cleaning Your Finds Right Away
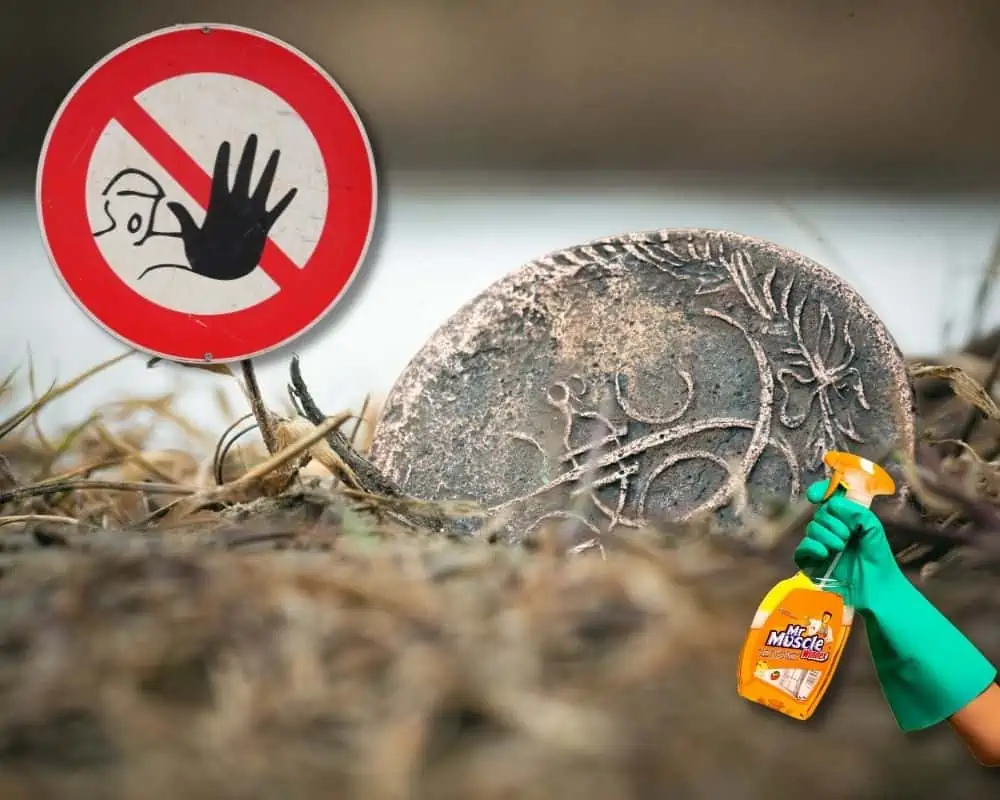
It’s tempting to clean off your new finds as soon as it’s dug up, but please don’t.
When you clean your findings, it can take time to determine what they are and how old. Leave it as is and do your research when you get home.
Damaging them is all too easy during the cleaning process. Some metals are more prone to scratching, or they’ve been underground so long that the metal itself is fragile.
5. Bring an Extra Metal Detector
Whenever I pack for a hunt, I’m not worrying about lightening my load. I’m thinking about the unknown waiting for me.
An extra metal detector comes in handy if your primary metal detector breaks, runs out of batteries, or you realize your device isn’t best suited for the soil or target.

A second device is also perfect for coaxing the property owner into giving their approval.
Invite them so they can see what you’re doing, especially how you treat their backyard.
Who knows, maybe they’ll find something on their property that sparks the fire of a future detectorist.
If you don’t already have a backup metal detector, you can pick one up for next to nothing.
6. Fill in Your Holes
Nothing drives me crazier than coming across a metal detecting spot that’s been left behind with an unplugged hole. It disrespects the landowners and gives the wrong impression of most hobbyists.

Plugging a hole is a no-brainer tip to follow and saves you a lot of trouble in the long run. Not only does the homeowner think more kindly of you, but it also keeps you from falling and busting your lip.
7. Get Comfortable Headphones
This last metal detecting tip is for anyone with more than a passing interest.
A good pair of metal detecting headphones lets you focus on the hunt and prevents those prolonged stares from bystanders trying to enjoy the outdoors.
I always metal detect with a pair of comfortable headphones on.
Because let’s be honest, you’re going to wear them for hours.
So make sure they feel good on your ears and fit ok because you’ll most likely wear them for hours.
7 Tips for Metal Detecting on the Beach
1. Know the Changing of The Tide
Your first tip for metal detecting on the beach is to get familiar with the changing of the tide.
The tide can change quickly and without warning.
I love metal detecting on the beach during low tide, and you will too. You’ll get more areas to search, thanks to the retreating water.
And high tide can bring in all sorts of debris that can make metal detecting difficult, so it’s not my ideal time for a beach trip.
If you go detecting during high tide, wear suitable clothing and footwear to keep you protected and warm.
Waders with boots are an excellent option. I can’t tell you how many times I’ve stepped on something sharp I couldn’t see.
2. Use a Lightweight Mesh Sand Scoop
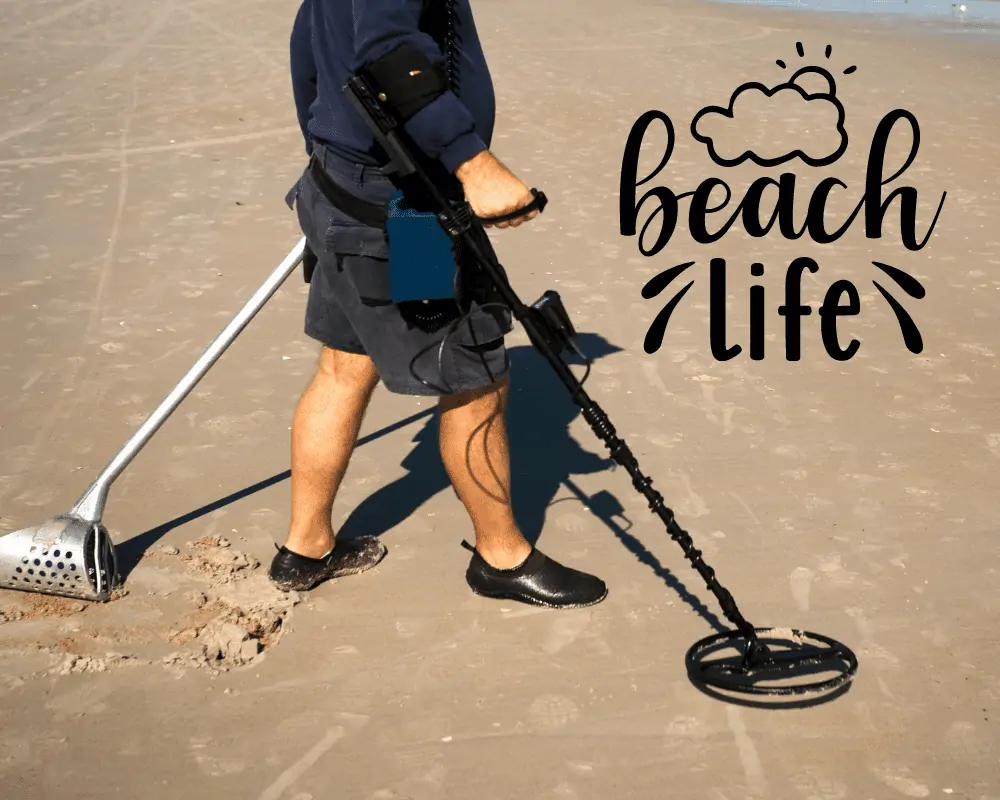
You’d think this tip would be obvious. But not so much.
A mesh sand scoop is light and specifically designed for use on the beach.
Its basket allows sand to pass through the holes while capturing tiny treasures like coins, jewelry, and occasionally lost keys.
Consider carrying a mesh sand scoop all the time if you’re metal detecting on the beach.
It’ll make your life much easier.
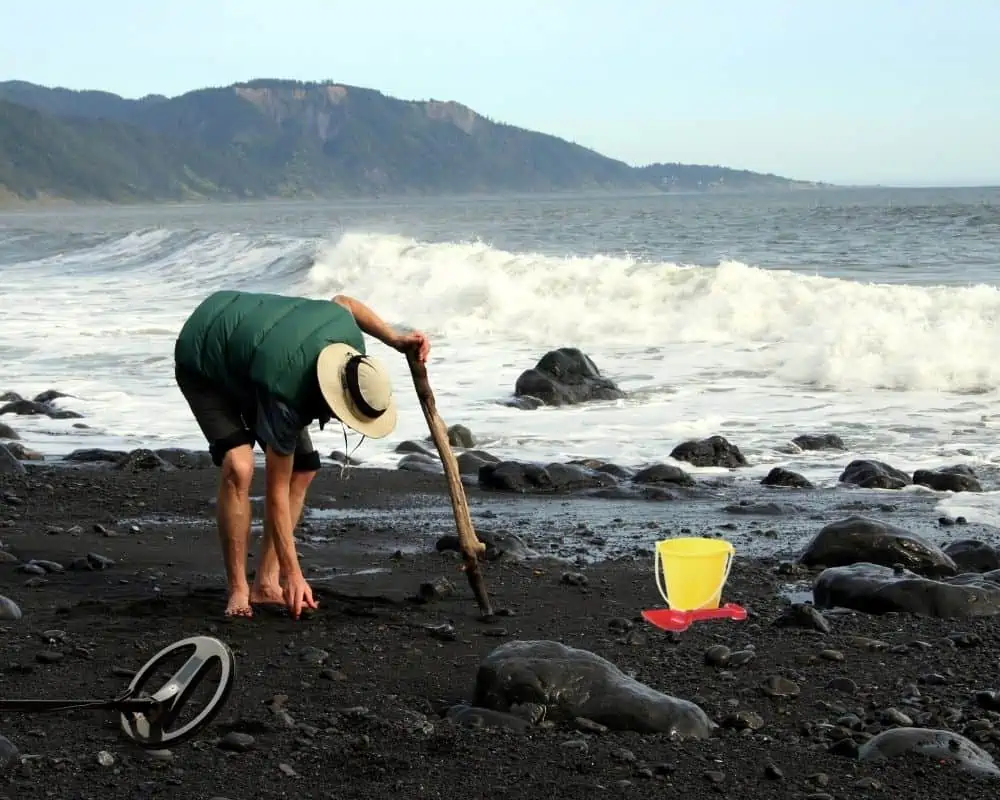
3. Wet Sand Is Best for Metal Detecting the Beach

Because of the wet sand, metal becomes more conductive and easier to detect, as long as you have a metal detector perfect for the job.
Not all metal detectors are ideal for wet sand, as it can play tricks on your search coil.
But the right one will penetrate the wet sand deeper and distinguish the valuable finds from the trash more easily.
This is one of my favorite metal detecting tips because the soggy sand gives your coil that extra oomph you’re looking for!
4. Go Hunting on Dry Sand
Ok, I know this totally contradicts what I just said, but hear me out.

On the beach during a hot sunny day in August when the sand is scorching, and all the vacationers have packed up for the day, metal detecting on dry sand can be pretty productive.
Beachgoers constantly leave things behind, like watches, jewelry, and coins.
While everyone else is trying to cool down for the day, you can metal detect in comfort and hopefully find some lost treasures.
Just be sure to use sunscreen and stay hydrated!
5. Understand What Salt Interference Is
The beach is full of salt water. And, as you may or may not know, metal and saltwater don’t mix well.
High concentrations of metal salts in the sand will cause your detector’s ability to distinguish between actual non-ferrous metals and false signals to be problematic.

The good news is that you can reduce this interference by using a metal detector with good discrimination, like multi-frequency (MI) technology.
Knowing how salt interferes with your search coil will help you combat it with the right equipment. Then, filtering out the unwanted signals to focus on the good ones is easy.
6. Try and Find Abandoned Beaches
I love this tip, but it’s trickier to achieve. But if you succeed, the reward is worth it.
Abandoned beaches are great places to metal detect because they’re free from disturbance caused by regular vacationers.
This results in the metal objects you find being untouched and in their original location.
To find an abandoned beach, you’ll have to research online or ask the locals about the area.
And find out who owns the property before digging. Otherwise, you won’t get to keep any of the goods you find.
7. Go Detecting After a Severe Storm

My last beach metal detecting tip is a good one!
Metal detecting a beach after a severe storm is bound to have you discover plenty of lost pirate treasure.
You see, a bad storm tends to displace and clear rocks along with other debris, offering a new landscape for you to explore.
Because of the waves crashing and pulling the environment every which way, the depth of the sand will have changed, and long-ago sunken gold coins and fabled relics will make their way to the surface.
7 Best Metal Detecting Tips for Coins

1. Revisit Documented Coin Discoveries on Old Sites
Coin shooting, where there’s been treasure reported, allows you to take advantage of an area with existing history.
While it’s true that you may find fewer coins than the person who initially found the site, there’s still a good chance you’ll find some.
Honestly, a site is never completely picked over. And if you have the patience to walk the property a different way, you could discover a new hot spot.
2. Get a Metal Detector with A Coin Depth Indicator

A metal detector with a coin depth indicator feature tells you how deep you’ll have to dig.
It saves you time and energy by allowing you to use the right digging tools.
Who wants to dig a foot deep with a little hand shovel?
Many metal detectors on the market have this feature, and it can be a lifesaver, especially if you’re hunting in an area with a lot of trash.
Metal detecting for coins can be tricky, and it takes some practice to get good at it, but with patience, you’ll find those elusive pieces of history in no time!
3. Train Yourself to Recognize Audio Tones
Metal detecting for coins tip number three is priceless!
By teaching yourself the meaning of each tone and change of pitch, you’ll know a lot about what you’ve found before digging.

Metal detectors have distinct audio tones for various types of metal, and it’s helpful to differentiate as best you can between each sound.
Coins, for example, usually give off a high-pitched tone, whereas iron sounds lower-pitched.
If you can train yourself to recognize the audio tones, you’ll be one step ahead of the competition.
4. Adjust Your Detector Sensitivity
Adjusting your device’s sensitivity properly can go a long way to help you find coins and not just some trash on the surface level.
The most helpful settings will change depending on the soil, among other elements. But typically want to keep the sensitivity from being set too high or too low.
Practice makes perfect, so play around with your device using a test garden and learn what works best for you.
5. Double-Check Your Plug and Hole

Take your time moving on to the next area!
Allow yourself a moment to ensure you inspect the ground you dug up and the area around it before plugging it.
This includes using a pinpointer to inspect the plug for any metals pulled out of the hole.
It would be a shame to lose a valuable coin because you didn’t double-check your work.
This is one of the no-brainer tips you need to remind yourself about.
6. Investigate All Signals Thoroughly
When your metal detector alerts you of a find, dig deep enough to feel comfortable that you have thoroughly investigated the signal.

This tip ties into previous hints, like not giving up too soon and using your coin depth indicator.
Knowing how deep the coin is can save you energy and frustration by not having to dig unnecessarily deep holes.
Just rely on more than just the indicator. Investigating all signals helps you avoid leaving any coin behind.
7. Make a Clean Curve in The Sod
My last coin shooting tip touches on a previous discussion about your dug holes.
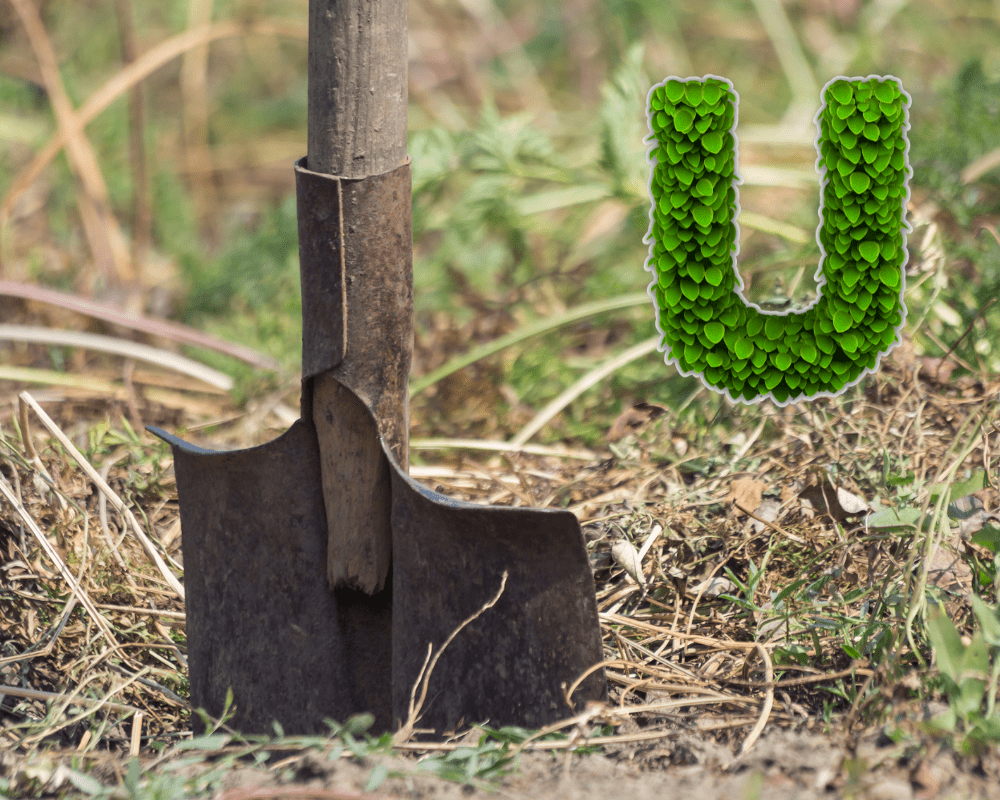
When using a digger tool for scouring into the ground, create a clear cut in the shape of a “U.”
This will help you avoid making a big mess of breaking up and scattering the dirt. Instead, you can flip your consolidated unearthed soil (plug) and place it back in the dug hole when finished searching.
7 Metal Detecting Tips for Beginners
1. Learn to Love the Trash

The best tip I can give you metal detecting beginners is to get used to the fact that you’ll find way more trash than treasure.
But don’t get discouraged!
It’s just a part of this hobby. And each piece of trash you find means you’re one step closer to finding something valuable.
Eventually, you’ll be able to read a metal detector, understand the tones, and pick your spots more carefully, leading to less trash.
But that’s only half the tip.
The other half is to take the trash with you…
Yes, I said it.

Don’t just leave it there for someone else to handle. It’s not only rude, but you could get in trouble if caught leaving a mess behind.
Many detectorists will carry a separate bag with them to collect any trash. This is certainly true for areas you intend on searching again.
So, be a good metal detecting practitioner and collect your trash.
2. Respect Is a Must
Tip number two for metal detecting beginners; respect the property.
We touched on this already, but it can’t be said enough, especially for beginners.
Regardless of where you’re detecting, whether it’s government land, a neighbor’s place, or your local church, understand that permission is asked for, not taken.
As the famed educator Vasyl Sukhomlynsky once said, “the right to be respected is won by respecting others.”

So only go digging massive holes if you plan on cleaning up.
Try to leave things as undisturbed as possible, and if you find something unique, let the owner know so they can share in the joy!
It’s just good metal detecting etiquette.
Respecting property also includes not metal detecting on historical sites or protected lands. These areas are off-limits for a reason, and you could face hefty fines if caught metal detecting.
So, to be safe, research before you go metal detecting and ensure you’re in a sanctioned area.
And that leads me to my next tip.
3. Research Everything

When it comes to good metal detecting, do your research.
You should always know what you’re looking for ahead of time.
With careful research, you’ll have a good feel of the location’s history and, more importantly, what sort of relics await.
To achieve this:
- Get in the frame of mind of a historian or archeologist.
- Learn about the past of the property from local resources.
- Get as much detail as you can from long-settled residents.
It’s also a good idea to become aware of any necessary permits. You’ll be glad you checked before packing up your gear.
4. Dig Slowly and Methodically

The fourth metal detecting tip for beginners is when you’re metal detecting, take your time; dig slowly and methodically.
This lets you always capture everything. It may seem tedious, but it’s worth it if you find something distinctive.
I also include this tip as a warning.
The last thing you want is digging for treasure and accidentally slicing your foot with a shovel. And don’t get me started on the hazards of buried utility cables!
5. Use an All-Metal Setting
One of the best tips I can relay to true beginners is to rely on your All-Metal search mode.

All-Metal mode is your metal detector’s search setting to detect all metals without discrimination.
So you get the potential of finding gold as much as iron. You probably don’t want iron, but at least you won’t overlook the gold.
Once you have a better handle on operating your metal detector, you can change the settings to filter out unwanted metals.
But when you’re first starting, it’s best to go for it and find anything and everything!
6. Practice Makes Perfect
I know you’re excited to get out there and explore nearby battlefields, but metal detecting takes practice.

The more you do it, the better you’ll get. So start small and work your way up to those more significant landmarks.
Set up targets for yourself in what’s referred to as a test garden.
Bury a few coins or pieces of different metals in your backyard and experiment with the features of your device.
The more you practice, the better equipped you’ll be at recognizing tones and adjusting your detector for sounder performance.
And like most things in life, the more you metal detect, the more fun you’ll have!
7. Record All Your Finds

This last metal detecting tip for beginners is awesome for several reasons.
First, it’s the law in some states to report your metal detecting findings.
Second, it’s good practice to track what you find, where you find it, and other relevant information.
Good note-keeping helps you avoid making the same mistake twice and keep track of your progress.
Third, by recording detailed logs, you can re-investigate the property again.
Once you’ve uncovered more history, why not use it to narrow your search?
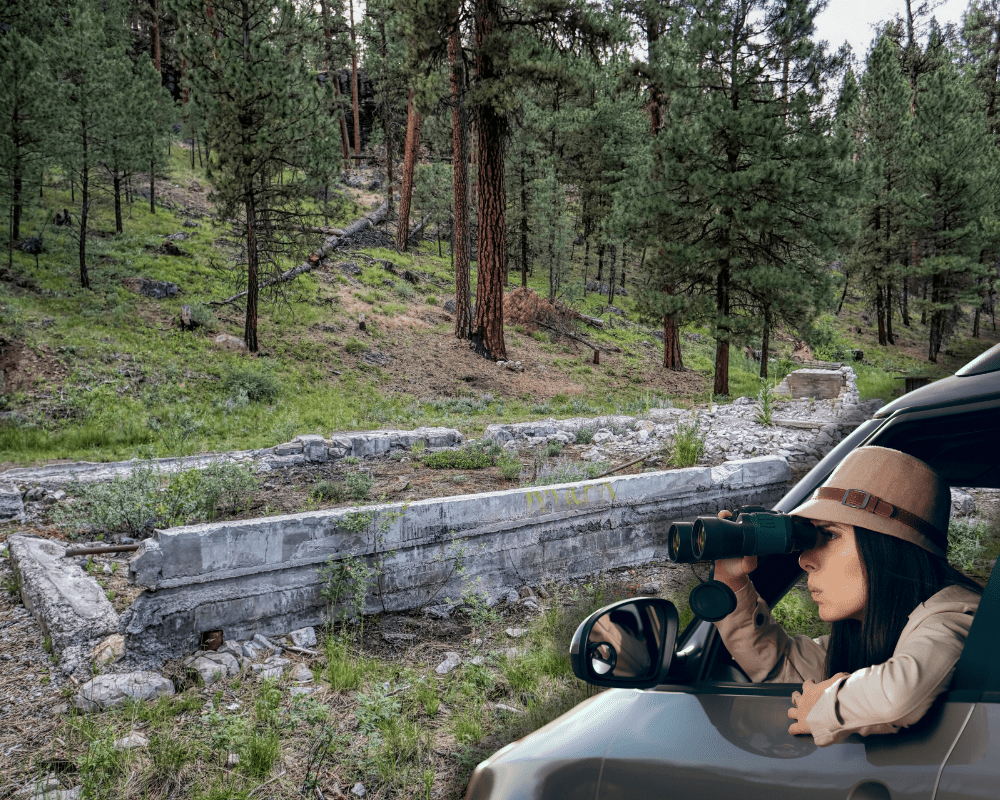
7 Tips for Metal Detecting Old Home Sites

1. Look for Unnatural Identifiers
When metal detecting an old home site, unnatural identifiers are one of the best things to look for.
These can be foundation stones, cellar holes, or anything that seems out of place.
By finding these identifiers, you can determine where the house stood and where you need to start metal detecting.
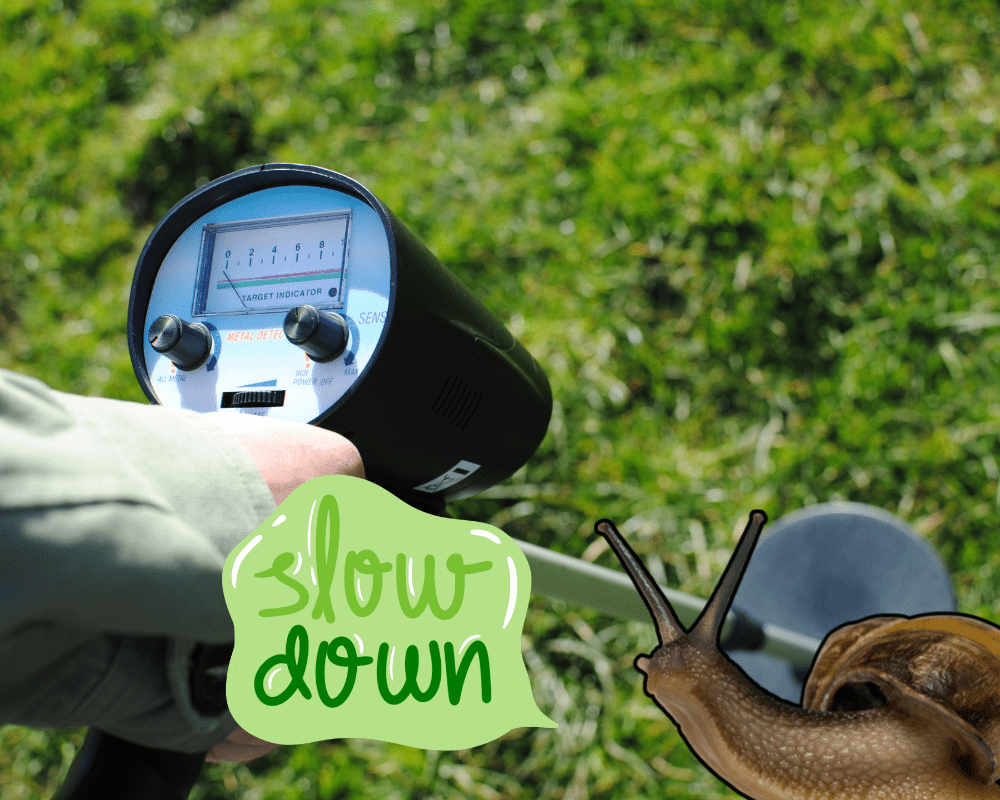
2. Slow Down Your Swing
Don’t be in such a rush, guys!
I know it’s hard to be patient when there’s a lot of ground to cover. But slowing your pace and practicing proper swing technique is key to finding the good stuff.
Sprinkled around an old home site, coins, jewelry, and relics will be waiting to be discovered.
By slowing down your swing and grid pace, you’ll have a fairer chance of finding them.
3. Detect from Different Directions

A moment ago, I alluded to tip number three for metal detecting old home sites: walking your grid in different directions.
When metal detecting an old home site, start outside and work your way inwards.
This grid pattern will take you along the property lines and help you to form an image of the old home and surrounding buildings.
Once you have a clear picture, begin metal detecting and occasionally modify your direction to cover more ground.
For instance, when searching a grid area from the south, adjust and rescan the same grid from the east instead.
It’s common to pick up a signal from something you missed before just because your detector is swinging over it at the right time from a different angle.
For success in anything, do everything possible to make it work.
4. Check and Compare the Property to Old Maps

Tip number four, check for changes in the property using old maps.
If you have access to old maps, you have a sneak peek into the past.
A lot can change about an old home site over 30, 60, or 100-plus years. Sometimes you’ll notice an old barn or outhouse on a map that doesn’t exist today.
Finding that little piece of history hiding on the map can make the whole time of researching worth it.
You can find old maps at local libraries, historical societies, or online databases.
If you have the time, they’re worth checking out!
5. Ask Locals About the History

One of the best things you can do when researching an old home site is to ask residents about their town.
They might know of events you’d never find out on your own. And, even if they don’t, they can point you in the right direction to someone who does.
Most of the time, people are eager to tell you the area’s history once you get them talking.
It makes them feel like part of the adventure. And, you never know; they might have some personal metal detecting tips to share.
So, don’t be afraid to ask around. It could pay off in the end.
6. Look for Signs of Offroad Tracks
Another metal detecting tip that can help you to detect an old home site is to look for signs of offroad tracks.

Signs like ruts in the ground or old roads no longer used are excellent clues to investigate.
These forgotten once-traveled roads can be great places to start metal detecting because they normally lead you right to a house that time forgot.
Or, if you’ve already found a property, look for the same worn tracks to help you map out where the old road used to go.
It can suggest where higher trafficked areas were and lead to you uncovering a new hoard of treasure.
Just be careful not to trespass on private property while following the trail.
7. Find Signs of Life
My last tip on home sites connects to tips one and six elements.
When detecting an old home site, keep your eye open for structures or foundations of daily life from the past.
For instance, remnants of an old clothesline or porch wood are things that time usually melts away. But they’re also places where relics could be hiding.
Old wells and grass-covered driveways are other strong indicators you’re metal detecting in the right spot.
While finding the foundations of regular hot spots around a home, pay attention to the more direct signals.
Changes in vegetation or areas where the ground has been disturbed are giveaways that people once lived there.
So take your time to see the signs right in front of your face.
7 Tips for Metal Detecting After Rain
1. Use Waterproof Equipment
Using waterproof equipment for metal detecting after rain is one of the best tips I can give you.

This includes a waterproof metal detector and a tarp to cover your finds. You’ll want your equipment and finds protected if it starts to rain again.
Waterproof metal detectors can be a bit more expensive than the average metal detector. But they’re worth the investment if you want to detect any valuable metals in wet conditions.
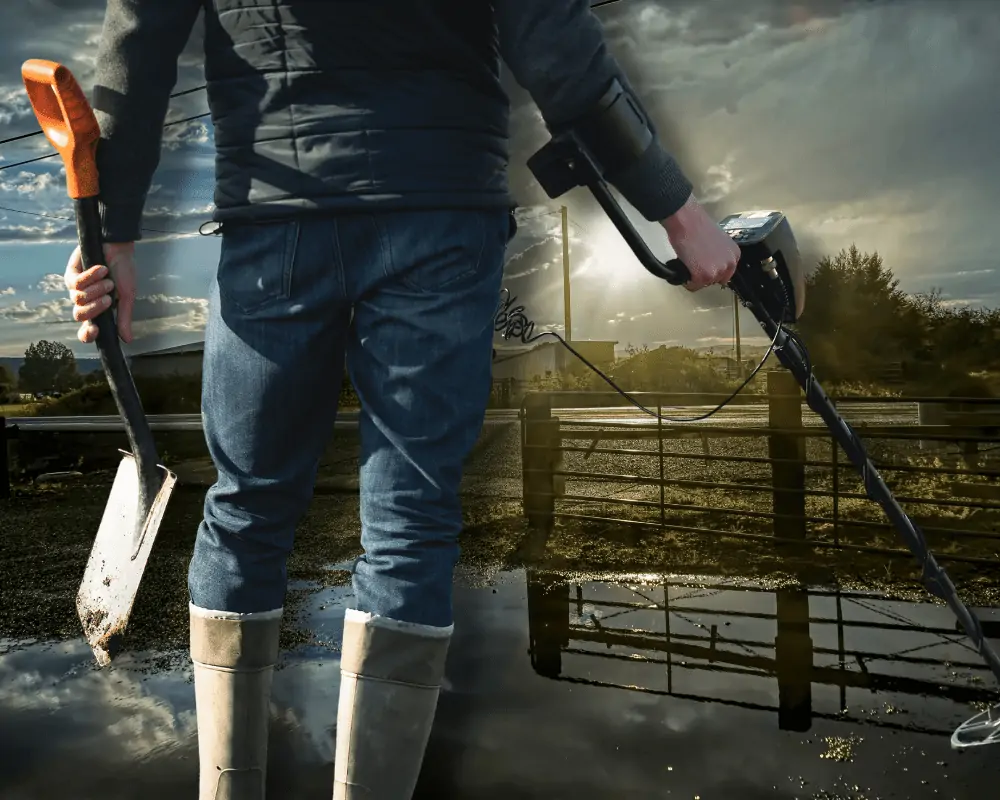
2. Bring an Appropriate Digging Tool
Another tip for metal detecting after rain is to bring a proper digging tool.
A proper digging tool could be something as simple as a trowel or spade. But, if you’re serious about metal detecting in wet conditions, you should invest in several different tools.
For instance, a tool designed to dig deep while keeping the diameter small is a practical method for any detectorist. It’ll help you avoid damaging plants’ roots or disturbing the surrounding ground too much.
3. Use a Weather App

My third tip for metal detecting after rain is to use a weather app.
Sounds obvious, right?
A weather app lets you know when the rain has stopped and when it’s safe to start metal detecting again.
You want to avoid getting caught in another downpour while metal detecting.
So make sure to check the weather before heading out.
While it isn’t foolproof, as most weathermen will tell you, it’s still a good idea to use any available advantage.
4. Use Headphones
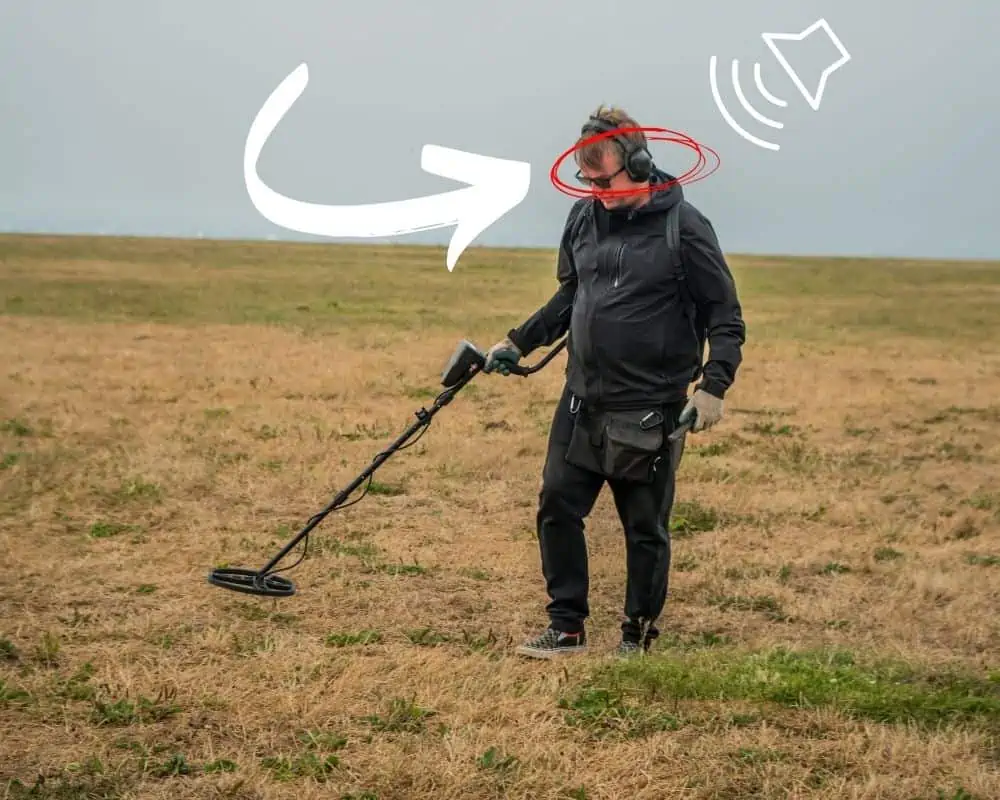
Headphones are always a must-have, but even more when metal detecting in the rain.
If it starts to rain again, a good set of headphones will do wonders to block out the sound of falling water around you.
Not only that, but it can help you focus on the audio cues coming from your metal detector.
Having that extra focused volume can make the difference between success and failure.
5. Start Detecting Right After a Hard Rain
It’s been pouring for hours and finally coming to an end. So grab your metal detector and get on out there.
Take advantage by starting before things dry up.
The damp soil from hard rain will make the metals in the ground more conductive for your search coil, leading to deeper finds.
And a bonus comes from the elevation of gems after rain washes away the uppermost portion of the soil.
Of course, use tip number one and pack waterproof equipment! You want your metal detector protected from water-related malfunctions.
6. Check for Standing Water
The next metal detecting tip is to check for standing water after a good rainfall.
If you find an area with pooled water, it’s worth checking out with your metal detector. You never know what’s hiding in a shallow puddle.
But watch your step around standing water. Taking a nasty fall and damaging your equipment could end your day abruptly.
If the water’s too deep to metal detect safely, come back after the water has evaporated.
7. Bring a Change of Clothes

After stomping around in the mud for a couple of hours, you’ll undoubtedly have a thick layer of dirt on you.
Do you want to get your truck all muddy and track dirt through your house?
I doubt it. Who wants to do all that extra cleanup?
So, pack a change of clothes ahead of time and avoid the extra mess.
Or you can opt to bring some waders, a drysuit, a raincoat, or some other kind of deterrent from the mud!
You can check out our post on the many uses of camouflage if you’re looking for a new outdoor wardrobe.
7 Metal Detecting Tips for Parks
1. Carry a Trash Bag

My first metal detecting tip for parks is to carry a trash bag.
We discussed this earlier but picking up any trash found while metal detecting is an honest detectorist’s responsibility.
It’s always a good idea to leave parks cleaner than when you found them!
Not only are you doing your part to keep the area clean, but you’ll also ensure that identical junk gets detected the next time you search the vicinity.
2. Mark the Good Spots
Another metal detecting tip for parks is to mark the good spots.
When you come back in the future, you’ll know where any hot spots are.

Of course, you can always search the whole park, but it’s nice to have a few lucky zones you know are worth metal detecting.
I’d suggest using a piece of tape to mark the location or document it in your finds journal.
Or a savvier approach is to get a GPS unit and record the coordinates of the high-potential areas.
Tip number two is perfect when metal detecting parks with friends. You can either share in the spoils by working together or claim a treasure trove for yourself.
3. Start at The Right Time
Tip three for metal detecting in parks is starting at the right time.
When it comes to parks, the best time to metal detect is either early morning or late in the evening.

You’ll notice fewer people around and won’t need to worry about being in the way of other parkgoers.
Of course, this helpful metal detecting tip also depends on the park you’re searching.
If the park is open 24 hours a day, you can go dirt fishing anytime you want!
Just be sure to use a flashlight if you’re hunting at night. And be careful! Parks at night aren’t notorious for being the safest place in the world.
4. Check Around the Radius of The Tree Trunk
When detecting metal in parks, a good tip is to check around the radius of the tree trunk.
The zone around a tree trunk is a gold mine for lost jewelry and other items, so take advantage of this opportunity.

This metal detecting tip is especially handy if you’re metal detecting in a park known for high traffic. The more popular a park is, the chances you’ll find lost items go up.
But why should I zero in on tree trunks?
The tree trunk is often undisturbed by mowers and other park maintenance equipment.
So, if someone loses something, there isn’t a better place for you to search.
5. “Too Picked Over” Doesn’t Exist
One metal detecting tip that applies to all potential sites is that too picked over doesn’t exist.
Even if another Digger detected an area before, there are still treasures to find!
The too picked over rule is especially true for parks. Any detectorist knows a park is a never-ending mine of replenishing potential year after year.
Of course, hunting where others have found success is always a good idea. You never know if you’ll be the one to discover what others have missed.
6. Think Like a Parkgoer

When metal detecting in parks, it’s crucial to think like a parkgoer.
What do visitors carry when picnicking or enjoying a relaxing walk under the sun?
Some things lost in parks include cell phones, keys, sunglasses, loose change, hats, and wallets, to name a few.
Put yourself in the right mindset to visualize where the outdoors take them. Inspect the paths and search the common areas.
Those are the places to focus your energy.
7. Work on Your Search Pace
One of the most important things you can do when dirt fishing a park is perfect your detection speed.
Your search pace should be a comfortable speed but also an effective one for covering the most ground within your given time.
Walking and swinging too slowly will lead to missing out on other park areas. But if you search too fast, you won’t give your search coil the time it needs to pick up smaller and deeper metals.
A park can be a lot of ground to cover. Still, it’s also a terrific time to practice the fundamentals of careful technique by speeding up your motions without losing effectiveness.
7 Underwater Metal Detecting Tips

1. Use Weight Belts and Diving Gloves
Using weight belts and diving gloves to maximize your success when metal detecting underwater.
Weight belts will help you keep your balance while floating underwater and reach greater depths faster.
And diving gloves are necessary for keeping your hands warm and safe from untimely scrapes.
2. Take the Time to Train

If you’re interested in metal detecting underwater, investing in some proper training and certifications can only help.
Not only does it reinforce safety above all else, but careful practice gives the confidence needed to detect underwater.
You’ll learn valuable life-saving techniques, like those included in a CPR certification course.
It’s always best to prepare yourself for the unexpected, primarily when relying on an oxygen tank.
And taking a diving course is an excellent way to improve a skill that can only complement your existing aptitude for metal detecting.
Granted, not all underwater metal detecting means you’ll be completely submerged, but if that’s your intention, take this tip to heart.
3. Make a Checklist of The Needed Equipment
As with any metal detecting adventure, making a checklist of the required equipment is necessary. Perhaps even more when scavenging underwater.
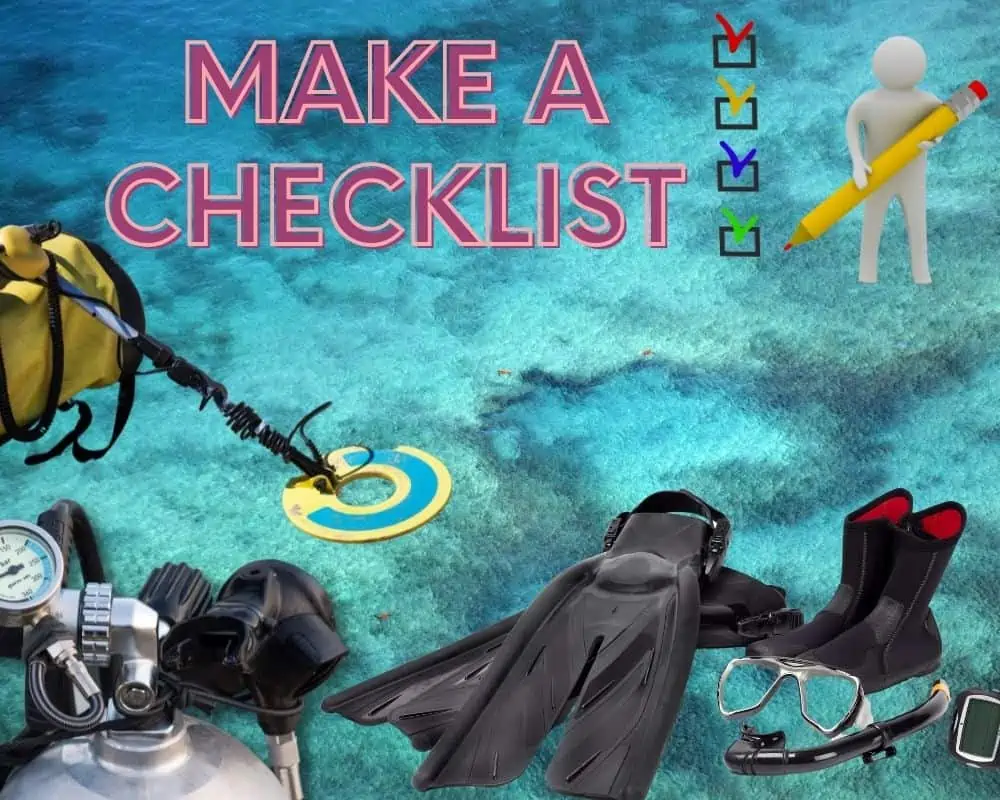
Jot down a list of everything you need and check it twice!
Off the top of my head, you’ll need a wet suit, diving mask, fins, snorkel, and waterproof metal detector.
If you don’t plan on fully submerging but instead only going out into waist-high water, think about bringing along a good pair of waders and a metal detecting scoop.
Waders conveniently keep your clothes dry while trekking through the water, and a trusted scoop will sift through sand and dirt to quickly find those precious metals.
In underwater scenarios, be sure to check the condition of your equipment before heading out.
You don’t want any surprises while you’re diving down below.
I’m assuming you’ve got a capable waterproof metal detector.
If not, get familiar with the available models, as some can handle depths of 200 feet while others are limited to 10.
4. Use a Steel Trowel with A Long Wooden Handle

You’ve already learned about the benefits of using a scoop underwater, but it’s also good practice to employ a steel trowel and wood handle when metal detecting.
The steel trowel is perfect for divers working with rough materials. Coral and submerged rusty metals do minimal damage to this kind of tool.
The wooden handle gives you a lightweight and comfortable extension to maneuver underwater.
If you need to separate debris from shipwrecks or natural rocks getting in your way, a lengthy trowel does the job from a safe distance.
Any experienced underwater detectorist knows how important these are when metal remnants tend to ramp up your metal detector’s false signals.
5. Hunt in Well-Visited Locations

Number five of the best underwater metal detecting tips is ideal for locating a spot among the vast ocean floor.
Find a location where past and present history show people like to gather.
Some spots to consider are swimming holes, piers, and docks.
Your chances of finding something of value are better than winging it in the stretches of the ocean.
Unless, of course, you have a clue about some sunken treasure…
6. Increase Your Depth Range
Next up is a topic I touched on already, but it deserves its own recommendation.

For those looking for metal detecting at depths where shipwrecks are begging to be explored, buying a metal detector with the farthest range is essential.
Increasing your depth range will unlock new and broader areas to search, leading to long-lost treasures.
Many metal detectors will only go so deep, bragging about their ten feet of submersible prowess. But we in the know are aware that these devices won’t cut it.
So it is prudent to research before making your purchase.
There are metal detectors made explicitly for detecting underwater where a diving tank is needed to reach. And that’s why a healthy method of asking questions is required to get what you need.
Of course, adjusting your regular detector to zero discrimination will enhance your range.
But consider a metal detector where the IP68 rating allows for 200 feet of optimal performance.
That’ll take you to a whole new level!
7. Dive with A Friend or In a Group

Whenever safety is a concern, metal detecting underwater in a group is beneficial.
Even if to cover more ground when deep below, a group will make all the difference.
The old saying of strength in numbers couldn’t be more appropriate.
Whether dealing with the occasional run-in with sharks or concerned about oxygen limiting your search time, having others with you adds to the adventure.
Underwater metal detecting with a group is a great way to make the most of your outing, and it’s much more fun when you find something.
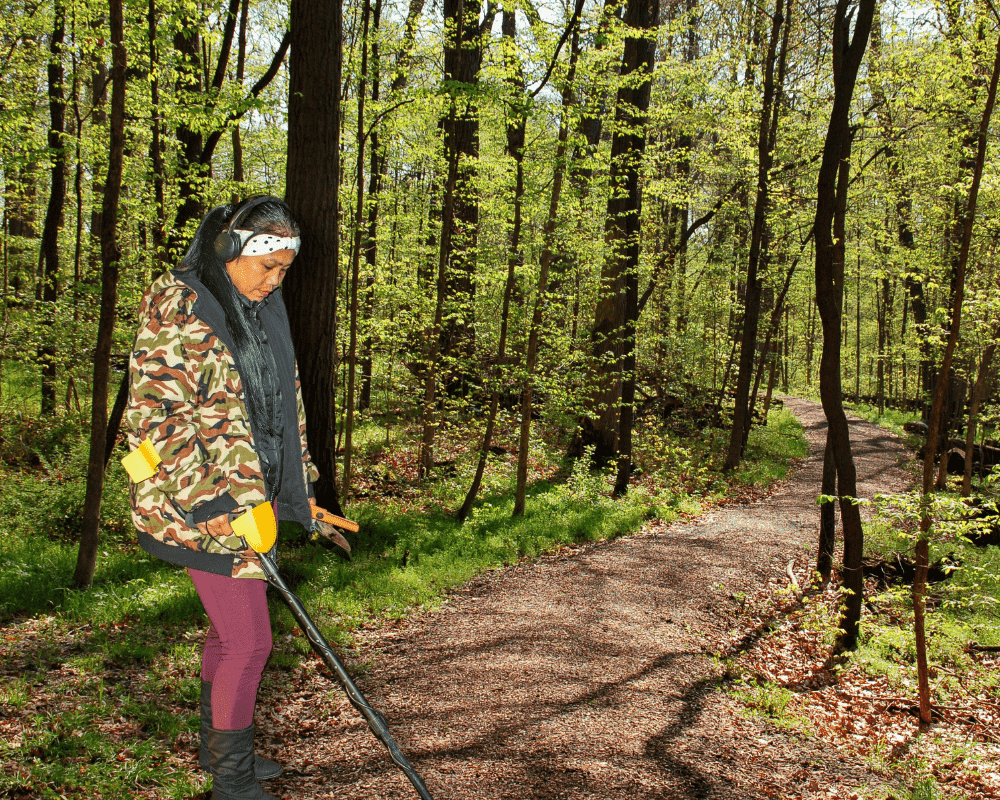
7 Tips for Metal Detecting in Woods
1. Use a Carry Bag
My first tip for metal detecting in the woods is to bring a carry bag so you can stay hands-free during your hunt.
A carry bag can also transport your finds on the go more conveniently.
You won’t have to search hard if you’re looking for a carry bag specifically for metal detectors. But a backpack or duffle bag is a typical alternative.
Just make sure it’s big enough to fit all your metal detecting equipment and is comfy to carry.
2. Use a Pinpointer to Save Daylight
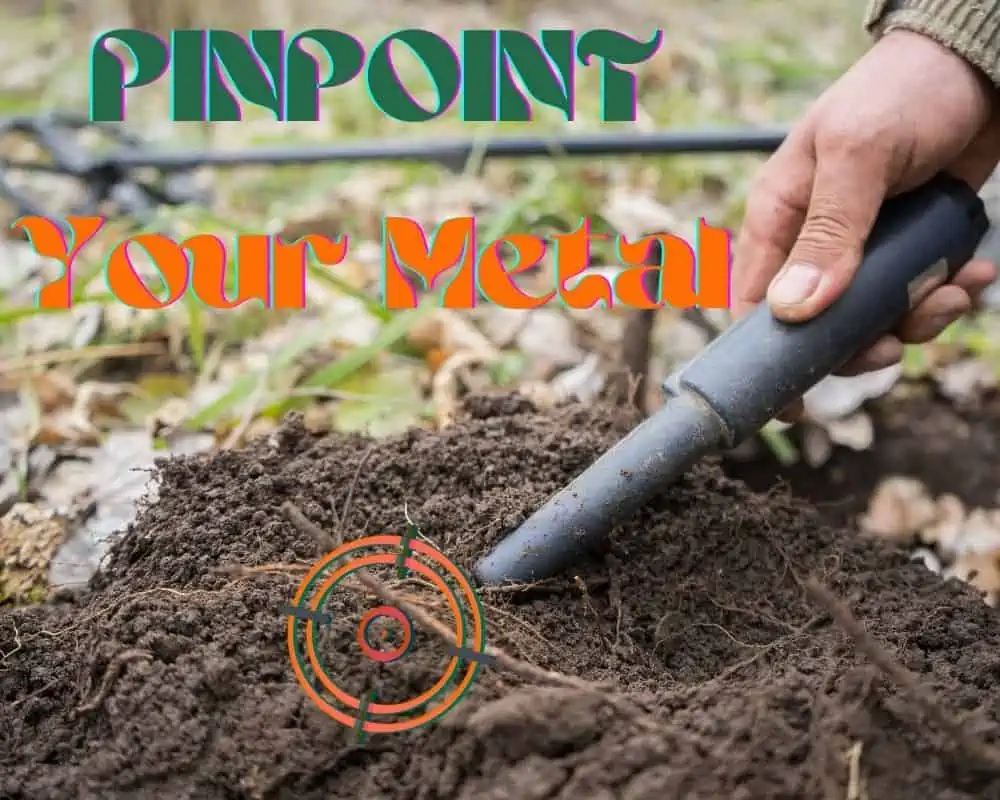
Using your time efficiently is an endless goal for serious metal detectorists and using a pinpointer does just that.
For the new Diggers, a pinpointer is a small handheld metal detector that you can use to zero in on the exact location of a metal object.
Some hobbyists argue that a pinpointer metal detector can replace a typical detector with a stem in some situations.
But to each their own.
When you search the woods for lost relics, a pinpointer can ideally find your target when leaves and other natural debris are an irritating obstacle.
Everyone has their preferred device, whether it’s the Carrot or a Nokta model, but the critical thing to remember is knowing how to use it properly.
Reading the manual is a great place to start if it’s your first time using a pinpointer.
3. Don’t Forget to Check Those Rock Piles

Metal detecting tip number three for searching the woods is never to overlook a pile of rocks.
Believe it or not, rock piles are an often neglected spot to find lost treasure.
I’m not only referring to tiny skipping stones but more enormous boulders unmoved over time. Who knows what past wanderers dropped when resting on their cool surfaces?
When examining a rock pile, investigate all sides and underneath before moving on.
Just be sure to practice caution when metal detecting around rock piles. They may be unstable or have sharp objects hidden within. So take your time before digging in hand first.
4. Pack Bug Spray
Tip number four is metal detecting in woods 101!
This tip is a necessity to keep those pesky bugs away. No one wants to be attacked by mosquitoes while digging through dirt and listening to the tones of your metal detector.
Various bug sprays are available, but remember that you can find all sorts of critters in the woods. While mosquitoes are the most common, ticks, ants, and flies can be a regular nuisance.
Your best bet is to choose a bug spray that works best for your environment.
For example, choose a bug spray designed to repel mosquitoes if you plan on metal detecting near water.
5. Use a Full-Sized Shovel
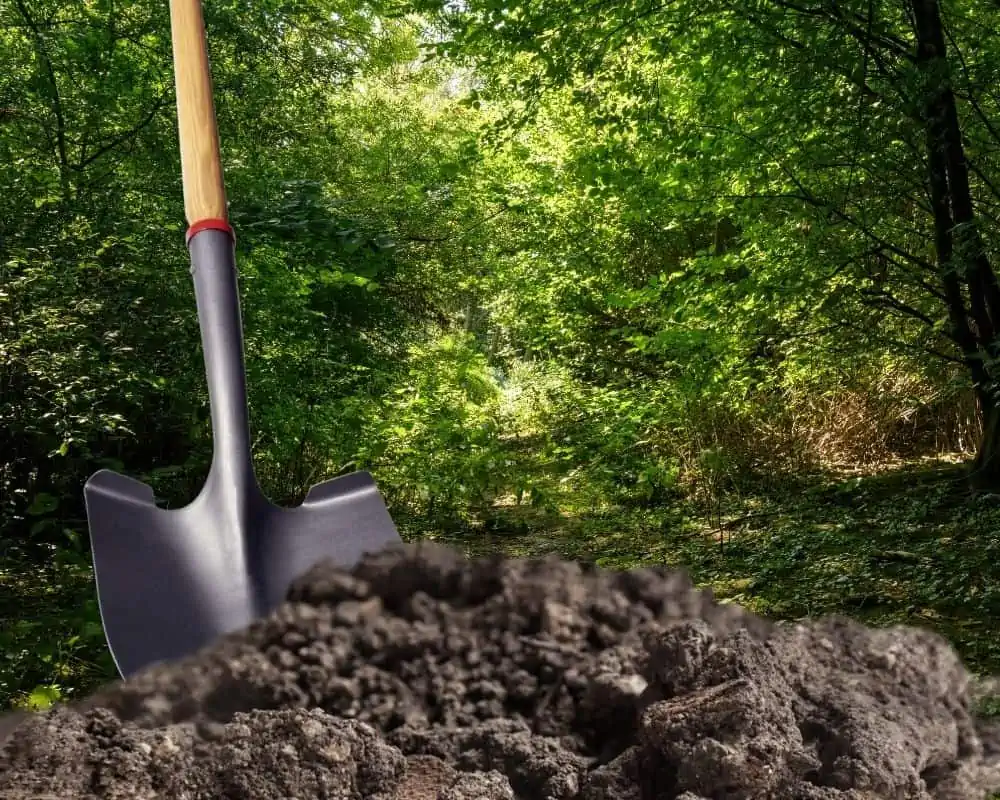
You should always be prepared for anything, particularly when stomping around in the woods looking for coins, gold, or whatever else you can uncover.
A full-sized shovel will come in handy if you need to dig a large hole or move a lot of dirt where extensive roots are an expected interference.
The quality of the shovel you’re using is something to consider.
Preferably, you want a sturdy one that won’t break easily. Digging up your finds in unknown terrain can be hard work, so make sure you have a shovel that can handle the job!
There are many different styles of shovels available. Folding shovels that are more portable and full-length garden shovels are reasonably standard.
But consider a full-sized tool instead for the obstacles you’ll face in the woods.
I speak from experience here!
6. Metal Detect Along Trails and Campgrounds
One of the top places to look for metal objects in the woods is along hiking trails.
Backpackers and outdoors people lose all sorts of things when hiking, from water bottles and pocket knives to coins and jewelry.
In addition, campgrounds are equally promising.
Think of the goodies left behind when a campsite gets packed up. By taking the time to check these surrounding areas, detectorists are making the most of their search routine.
Just remember that these are leisure areas individuals use regularly. So when metal detecting in woods, always respect the environment and leave no trace of disturbance.
Specifically, this means not leaving your holes unplugged.
7. Consider Using a Multi-Frequency Detector
If you plan to pursue a long venture into metal detecting, consider investing in a multi-frequency detector, especially in a wooded area.

These detectors can be expensive, but they’re worth the buy.
A multi-frequency detector is exceptional for detecting in the woods because it’s adaptable to many environments and varying metals.
They work by sending out multiple frequencies that can penetrate through diverse materials, including soil, roots, and trash, and their range is unbeatable.
So if you’re in the market for a metal detector that can do it all, entertain the thought of a multi-frequency detector.
You won’t be disappointed!
Final Tips for Getting Better at Metal Detecting
Wow, didn’t I say this was going to be the ultimate list of ultimate lists?

I decided to throw in some final metal detecting hints and tips for those invested in this lifestyle.
First, try to visit more high-population areas.
Metal detecting on heavily trafficked land will go a long way in perfecting your technique, as more finds will keep your interest level surging.
Second, get to know your metal detector.
Read the manual and learn everything you can about the distinguishable settings so you can optimize your machine for every situation.
By reading through all the available sources online and absorbing relevant walkthrough videos, you can learn how to read a metal detector and improve overnight.
Check out forums and news articles on all the latest technology, techniques, and recent finds among the metal detecting community.

Meeting up with other detectorists is perfect for soaking up first-hand knowledge and perfecting your craft.
There’s bound to be a group nearby, so check your social media or do a quick Google search.
If not, you can always start a new group!
Networking and building relationships with others in the metal detecting community will quickly make new friends while seeking adventure outdoors.
Last but not least, don’t give up!
Like anything else in life, metal detecting takes time and patience.
The more you do it, the better you’ll get. So get out there and start metal detecting!
I hope you enjoyed this article as much as I wanted to make it for you. These are some of my favorite metal detecting tips to share, but there’s always more to learn.
Until next time!