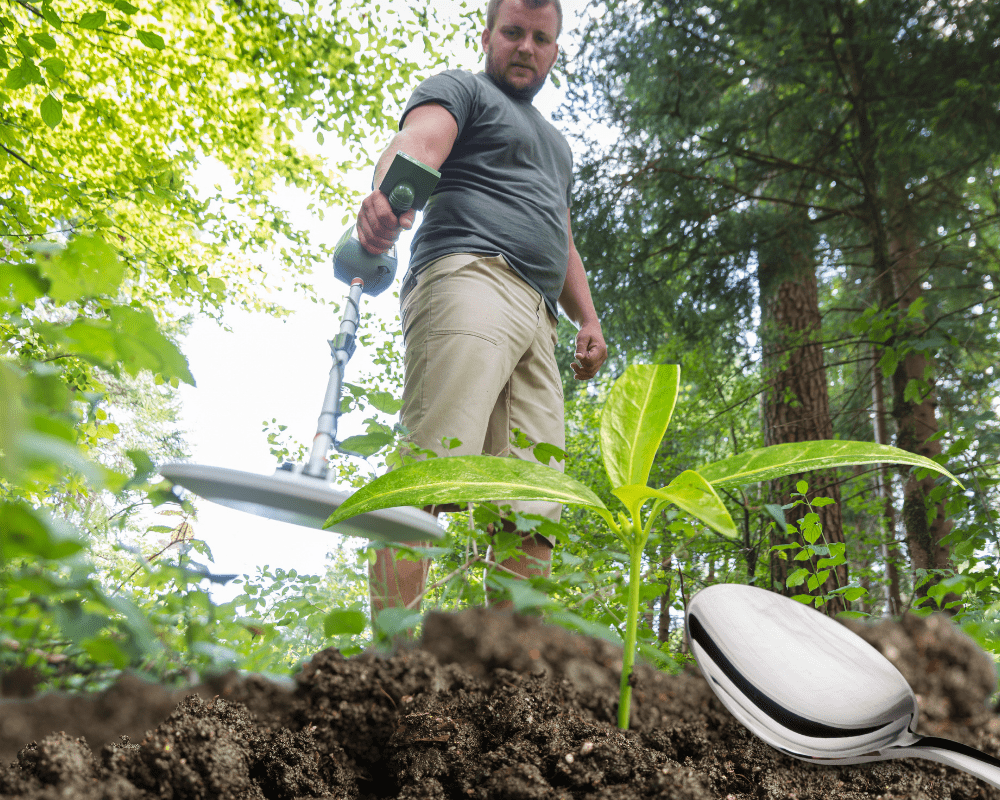
Imagine you are an hour into your weekend metal detecting adventure and the worst-case scenario rears its ugly head. Your metal detector won’t work. It either won’t stop beeping like crazy or it simply just doesn’t do anything at all.
The bad news: It’s the worst possible time for this to happen and you might start to panic with increased frustration.
The good news: There are many probable causes and most of them can be diagnosed and fixed without much effort.
In this blog post, we’ll go over some of the more common problems that may be hindering your metal detector. And, we’ll tell you how you can repair your metal detector from physical damage, as well as ways to successfully determine what another root cause is giving you headaches.
So, if you’re metal detecting journey has come to a screeching halt because your metal detector just won’t work, read on before your trip comes to a screeching halt.
Why Won’t My Metal Detector Work?
- Physical Damage
- Extreme Temperatures
- False Signals

A malfunctioning metal detector can be very frustrating, especially if you don’t know why it’s not working in the first place.
The key to moving forward is to figure out why the performance of your metal detector just took a dive into the deep end. While the cause could be more difficult to reveal, here are some of the more common reasons you’re having trouble finding any treasure.

Physical damage to your unit – One of the most common metal detector problems is damage to the physical unit.
Whether it’s a cracked coil wire or your metal detector mounting bracket is loose, metal detectors are delicate machines that can easily be thrown off by a small bump or fall.
The good news with physical damage is that it’s usually easy to spot and can save you time trying to figure out why your detector suddenly lost depth capabilities. Fixing these kinds of problems is also relatively easy and only requires a few tools that can be found around the house or bought for a relatively low cost.
Read on to get tips on repairing cable or housing components of your metal detector.
Extreme temperatures – If you’ve been metal detecting in hot or cold weather, it’s possible that your machine is experiencing accuracy fluctuations.

This is especially true if you’ve been storing your metal detector in extreme temperatures. Extremely cold temperatures will make metal detectors sluggish, while heat can cause false signals. You see, the change in temperature causes the conductivity of metals to change, which can easily interfere with your metal detector’s readings.
You’ll know this is a possible issue if you’ve been metal detecting in very hot or cold weather and your metal detector’s performance has taken a drastic hit. For instance, if your metal detector is going crazy and you think you’ve struck gold, but you come up empty after digging through a 5-foot radius.
If this is the case and it’s been consistent cold, try to leave your metal detector out in the sun for about an hour so that it can adjust to the change in temperature. Once it’s had time to warm up or cool down, test it in your backyard to see if there’s any performance improvement.
On the other hand, if you’ve been living through a heatwave or metal detecting in very hot weather, it’s best to leave your metal detector in the shade as much as possible. If you can’t avoid metal detecting in the heat, try to take frequent breaks in the shade and give your metal detector a chance to avoid overheating.

False signals – False signals are one of the most common metal detecting problems, no matter the user or the machine.
A false signal is when your metal detector goes off, but there’s no metal in the area to be found. This can be caused by several things, including power lines, other metal detectors, your current settings, cell phones, or even interference from the ground itself.
Luckily, most metal detectors come with advanced features that can help you eliminate false signals. Through the use of the discrimination and sensitivity settings, you can help your metal detector ignore false signals caused by power lines, other metal detectors, or even your cell phone.
Adjusting these settings is also ideal for dealing with false signals from highly mineralized areas. By understanding how and why to ground balance your metal detector, you can help minimize the number of false signals caused by interference from the ground.
In fact, it’s good practice to ground balance your metal detector before each metal detecting session, especially if you plan on metal detecting in a new area.
If you’re still having issues, before you seek outside help, I’d recommend using a search coil cover if you aren’t already.
A search coil cover helps to protect your metal detector’s search coil from bumps and bruises caused by small pieces of metal, like nails, that are often found in the ground. These dings are known to cause false signals more often than not.
While a search coil cover won’t eliminate all false signals, it can help reduce the number of false signals you receive, making it easier to find the good stuff.
Why Does My Metal Detector Keep Beeping?
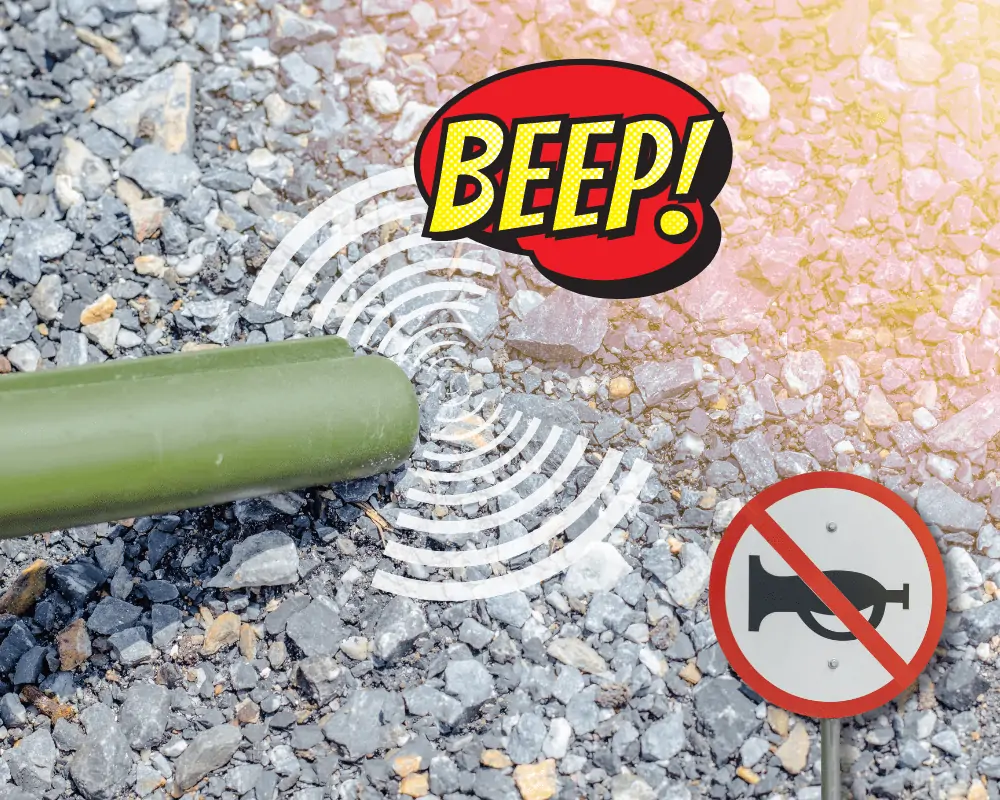
Your metal detector keeps beeping so much for reasons related to the machine itself or because of the conditions you’re metal detecting in.
If you’re new to metal detectors, you should know that beeping is completely normal. As a matter of fact, the beeping is a good thing!
As opposed to the beeping of an airport metal detector with a vape in your pocket, this beep means your metal detector is working properly and you’re close to uncovering something exciting.
However, if your metal detector is beeping more than usual, it could be an indication that there’s something wrong.
Before we get into more detail, here is a quick list of reasons why your metal detector keeps beeping.
- Batteries
- Metal Detector Settings
- Bad Technique
- Too Close to Metal Objects
- EMI
- Mineralized Soil
Batteries
If your metal detector is beeping, it could be a sign that the batteries are running low and need to be replaced.
Metal detectors are notorious for eating through batteries, so it’s always a good idea to keep a few extra sets on hand. If you plan on metal detecting for more than a few hours, I’d recommend investing in a set of rechargeable batteries. Newer metal detectors can often keep working with no interruptions right until the last bit of energy is drained from your battery
But low battery life can cause havoc on your metal detector’s performance when it comes to your display and audio functioning properly. While low batteries seem to affect older analog metal detectors with more frequency, they can still cause issues with newer, digital metal detectors.
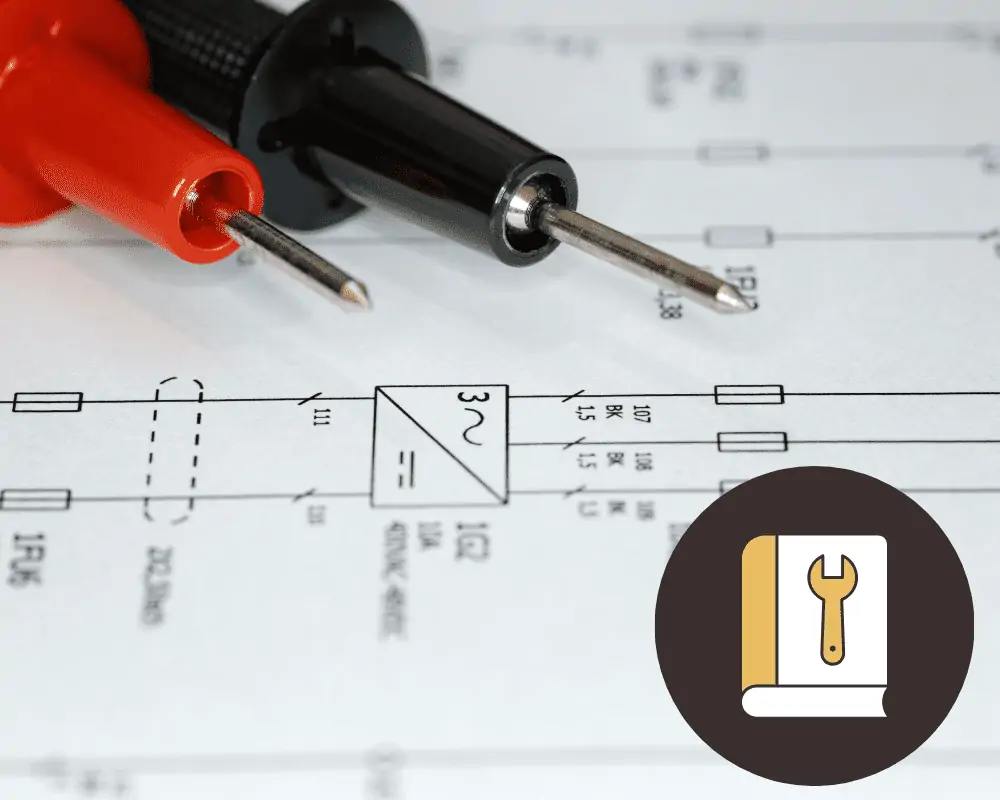
One tool that will come in handy for most battery-related issues is a multimeter.
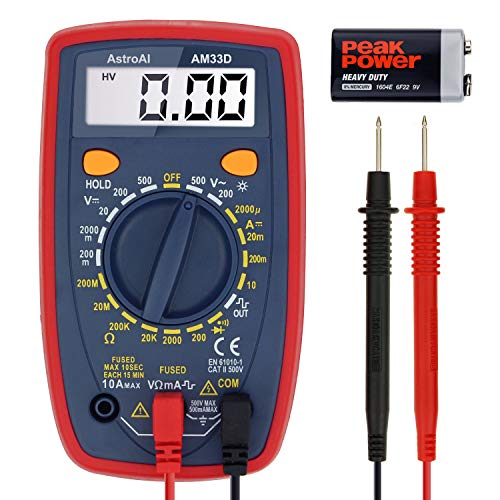
- AC/DC Voltage, DC Current, and Resistance
- Battery Quality Test
- Backlit Display
- Works on all metal detecting devices that produce a current
- Easy to Use
- Diode Testing
A multimeter is a device that can measure the current, voltage, and resistance in an electrical circuit.
This is useful if you’re metal detecting and your metal detector starts acting erratically or completely stops working as you’ll be able to test your batteries, battery charger, or for any breaks in your wires to see where the problem lies.
If the batteries are the issue, simply swap them out, ground balance your device, and get back to your hunt.
Metal Detector Settings

Another potential reason your metal detector is beeping so much is because of the settings you have it on.
If your metal detector is set to a higher sensitivity, it will beep more often because it’s picking up on more metal objects.
Older metal detectors only had one sensitivity setting, but newer models usually have multiple sensitivity settings that can be adjusted depending on the terrain you’re metal detecting in.
For example, if you’re metal detecting in an area with a lot of metal objects, like a construction site, you might want to lower the sensitivity so your metal detector doesn’t go off every few seconds.
On the other hand, if you’re metal detecting in an area with very little metal, like a beach, you might want to increase the sensitivity so your metal detector can pick up on even the smallest pieces of metal.

And it should go without saying (but it has to be said), double-check the volume controls on your metal detector to make sure they’re turned up. It seems like a no-brainer, but you’d be surprised how often people leave their metal detectors on mute without realizing it.
The key is to experiment with the different settings until you find the sweet spot for where you’re metal detecting. All it takes is a little practice before you’re a natural.
Bad Technique
Another possible reason your metal detector is beeping so much is because of your metal detecting technique.
While metal detectors are pretty straightforward devices, there is a bit of a learning curve when it comes to using them effectively. You need to understand how the coil interacts with metals and how to swing the metal detector properly in order to get the most out of it.
If you’re new to metal detecting, I’d recommend reading our beginner’s guide or watching some how-to videos before heading out on your next metal detecting adventure.

If you’re too fast or loose in your swing and constantly hitting the ground or grazing a wet area (dew on grass), your metal detector will beep more. The beeps are caused by electrical interference from the ground or water, which can damage your metal detector if you’re not careful. In addition, any moisture collecting on your coil by overswinging will certainly cause a build-up of electrical charge, which can also lead to constant beeping.
If you think your metal detecting technique might be the issue, try slowing down your swing and being more deliberate in your movements. Also, take a moment to clean off your coil thoroughly to remove any debris or moisture that might be causing electrical interference.
Now, let’s talk about the surrounding conditions you are searching in. What outside factors could be making your metal detector keep beeping?
Too Close to Other Metal Objects
Metal detectors are designed to find metal, so it stands to reason that being too close to other metal objects will cause your metal detector to beep. This is especially true if the metal objects are large or conductive.

Maybe you’re looking around and don’t see any other metal on the ground standing out as a possible issue. Well, maybe the nearby metal objects aren’t as obvious as you think.
For instance, is there any metal in the toe of your boot? What about metal jewelry? Do you have a belt with a metal buckle? Or, do you have any other metal detecting tools hanging around nearby, like a metal pinpointer?
All of these metal objects can cause your metal detector to beep, especially if they’re close to the coil. So, if you think being too close to other metal objects might be the issue, try moving away from them and see if the beeping subsides.
Electromagnetic Interference (EMI)
Metal detectors are susceptible to electromagnetic interference (EMI), which can cause all sorts of problems, including false signals, loss of depth, and erratic behavior like constant beeping.

This is because your search coil is basically a big metal loop that’s constantly generating an electromagnetic field. When this field comes into contact with other electromagnetic fields, it can cause interference.
There are all sorts of sources of EMI, including power lines, cell phones, radios, and even other metal detectors. If you think EMI might be the issue, try turning off any electronic devices you have with you and see if the metal detector’s performance improves.
You should also avoid metal detecting near power lines, as the electromagnetic fields they generate can be very strong.
Mineralized Soil
Mineralized soil is another common metal detecting problem that can cause all sorts of issues, especially consistent beeping from your metal detector.
Mineralization occurs when small metal particles are deposited onto the soil. This can happen naturally over time or be caused by human activity, like mining.

Either way, metal detectors don’t like mineralized soil because it causes false signals and will ultimately lead to wasted efforts if you don’t know how to adapt your metal detecting strategy.
If you think mineralized soil might be the issue, try searching in an area that doesn’t have a lot of it. You can also try using a metal detector with good ground balancing capabilities to help cancel out the effects of the mineralization.
Most metal detectors do have these advanced settings, and some are more user-friendly than others. If you’re looking for a good metal detector that is designed for detecting in mineralized environments, check out our article on the best metal detectors for beaches and water.
Beaches are generally quite mineralized, so metal detectors that work well there will also do a good job in other areas with high levels of mineralization.
Why Is My Metal Detector Acting Crazy?
- Hot Rocks
- Ants
- Iron

A metal detector acting crazy is a fitting way to describe how it reacts to particular minerals and other factors in the ground.
Many of the reasons that a metal detector will act crazy are the same as what we have already discussed with improper beeping. But let’s take this opportunity to get more specific and talk about some of the underground conditions that can cause metal detectors to go haywire.
Hot Rocks

One of the most common metal detecting problems is what’s known as “hot rocks.” Hot rocks are, simply put, rocks that contain high levels of minerals.
These minerals are often magnetic but contain no valuable metal (like gold). When your metal detector comes in contact with these rocks, it can cause all sorts of problems, including false signals and erratic behavior.
If you think hot rocks might be the issue, try searching in an area that doesn’t have many of them. But be aware that they do come in all different shapes and sizes. If moving on to a different search area isn’t ideal, you can try using a metal detector that has good discrimination capabilities.
Discrimination is the ability of a metal detector to distinguish between different types of metal. By eliminating hot rocks and other junk metals from the equation, you can focus on the more valuable metals that you’re actually looking for.
Ants

Another common metal detecting problem that causes your detector to go crazy is Ants. Yes, you read that right. Ants can cause metal detectors to go haywire, especially if they build their nests near where you’re searching.
The reason ants are such a problem is that they contain high levels of gold, copper, and zinc. While this isn’t really a bad thing, you might just think you’re going crazy when your metal detector is going wild but all you find is a massive ant colony.
A study in 2014 published in the Journal of Geochemical Exploration, details colonies of ants and termites in Australia containing higher levels of gold from a traceable trail of vertical movement up to 1.4 meters deep.
Iron

Iron is one of those metals that you really don’t want to find when you’re metal detecting but can’t help but find all the time.
The problem with iron is that it is highly magnetic and has zero value to most people. This means that it can interfere with the signals that your metal detector is trying to receive from other, more valuable metals.
When metal detecting in highly mineralized areas, it’s not uncommon for your metal detector to go nuts due to the high concentrations of iron in the ground. If you think this might be the issue, try using a metal detector with good iron discrimination.
By eliminating iron from the equation, you can focus on the more valuable metals that you’re looking for.
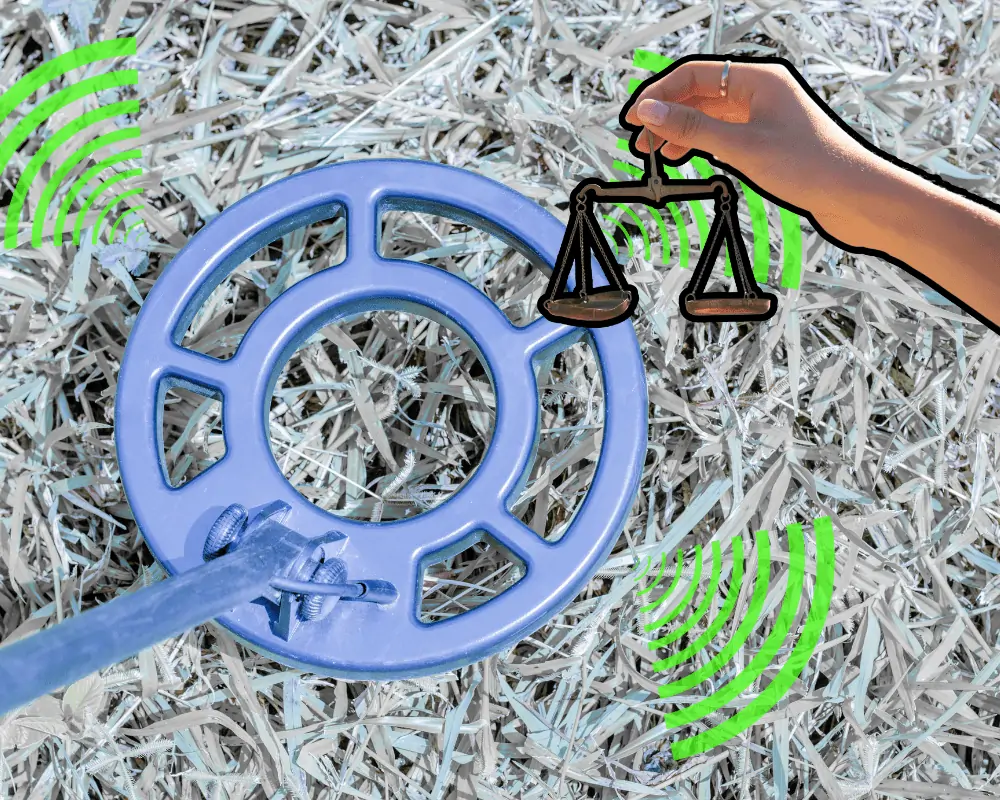
Can Metal Detectors Be Wrong?

Metal detectors are designed to find metal, so they’re not really capable of being wrong. However, there are a few factors that can cause metal detectors to give false readings.
The most common cause of false readings is metal detector interference. This can be caused by anything from sources of EMI, being rough and tumble with your device, and more often than not, other minerals in the ground.
These minerals include naturally forming iron oxides like rust and magnetite. Iron oxides are made up of oxygen and iron and come in 16 different forms.
False signals are commonplace in the metal detecting world and the best way to deal with them is to either use a metal detector with good discrimination.
How to Tell if Your Metal Detector Coil Is Bad
- Try a Different Coil
- Clean Coil Cover
- Factory Reset
- Environmental Factors
- Read the Manual
- Test Garden
A bad metal detector coil can seriously impact your metal detecting experience. If you’ve noticed some physical damage to your metal detector coil or have experienced a drop in performance from what you are used to, it may be that your search coil is bad or going bad.
If this is the case, you can tell if your metal detector coil is bad by following one or all of the following steps.
Test Out a Different Coil
The most direct and simplest way to test out whether your metal detector coil is bad is to test it against another coil. If you have access to another metal detector or even just another coil, see if you can experience the same drop in performance with that other device.
Not all coils are interchangeable so you might want to do a little research and read our article here before moving forward.
If the new coil works better, then that is a pretty good indicator that you either need to repair or replace the bad search coil.
Clean Out Coil Cover

If you’ve recently been metal detecting in an area with a lot of mineralization, it’s possible that your coil cover is just a mess and loaded with minerals and moisture, ultimately causing some poor performance or interference.
In this case, you’ll want to take a look at your coil cover and make sure that it’s clean and free of any debris, both inside and out. If there are any cracks or holes, it’s easy enough to replace the cover if you don’t want to be bothered with repairing it.
Cleaning the coil cover is as simple as using some warm water and soap to remove any dirt or grime.
Once you’ve cleaned out your coil, reattach the coil cover and test it out again. If there is no improvement, then it’s best to try a different method before buying a new coil.
Factory Reset

If there aren’t any easily noticeable problems, usually the first step a detectorist will take is to try and reset their metal detector to its factory settings.
This will clear out any customizations or changes that you may have made that could be impacting the performance of your metal detector and return it back to its original state.
A factory reset will surprisingly fix a load of issues with your metal detector so it’s always worth a shot before you start trying more drastic measures.
To do a factory reset, consult your metal detector’s user manual as each model will differ slightly. Once you’ve reset your metal detector, test it out in an area with good metal detecting conditions to see if there is any improvement.
Consider the Environment

When metal detecting, it’s important to take into account the environment that you’re in and how that might be impacting your metal detector’s performance.
For example, if you’re metal detecting on a beach, there is a good chance that there is a lot of iron in the sand which can cause false signals.
Another aspect of your environment to think about is the weather. If it’s been raining recently, that could explain why your metal detector is acting up as moisture can enhance the conductivity of metal, causing your metal detector to sound off more frequently.
So any trashy irons or aluminum foil left behind by vacationers, are going to have effect.
Metal detectors don’t work well in extreme cold or heat for long periods of time, so if you’ve been metal detecting in either of those conditions, that could be the root of the problem.
If you’ve tried everything else to test the functionality of your coil and you do think the environment is playing a role, the best solution is to simply metal detect in a different location. This will either answer your question or cross one extra check off the list.
Troubleshooting Guide in Metal Detector Manual
If you’re still having issues with your metal detector and can’t seem to figure out if your coil is the problem, the next best step is to consult your metal detector’s manual. In fact, this may be your first step if you are newer to the hobby.
The manual that came with your metal detector should have a section dedicated to troubleshooting any common problems that might occur.
There, you’ll likely find some possible answers to your question as well as some helpful tips on how to properly use and care for your metal detector.
The best way to figure out if your coil is bad is to match your metal detector symptoms with those covered in the manual.
Experiment With a Test Garden
If you’ve made some adjustments in an attempt to better your performance or test your coil, or if you haven’t started yet, you should experiment with a test garden.
A test garden is simply an area where you bury different metal objects at different depths and then metal detect over them to see what kind of signal you get.
This is a great way to not only figure out if your metal detector is picking up metal objects but also to determine how deep it can detect those metal objects.
If you’re not detecting known items or getting some strange responses from your metal detector, it’s definitely possible that your search coil has gone bad.
Fix Your Metal Detector

Every problem you get with your metal detector will often have its own unique solution.
Whether it’s a short in the control box, a broken armrest, or another part of your metal detector, each problem you encounter will have a different remedy.
As we mentioned previously, a multimeter is not only ideal for checking your batteries but it can also be used to check other parts of your metal detector for shorts.
For the purposes of this article, we’ll focus more on the solutions for your metal detector search coil and the connected cables.
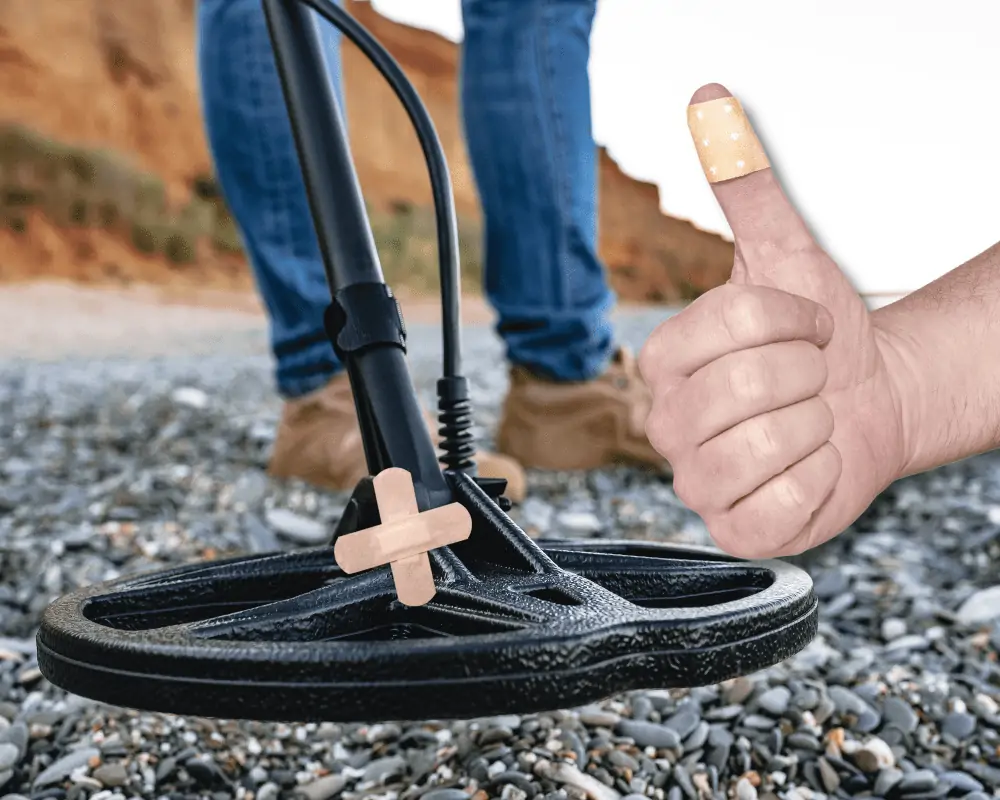
How to Repair Cable on Metal Detector

The search coil tends to experience a lot of wear and tear as it’s constantly being dragged across different surfaces so it’s not uncommon for them to go bad after a few years.
One of the most common problems with a cable on a metal detector is foreign objects cutting through the insulation and causing a short.
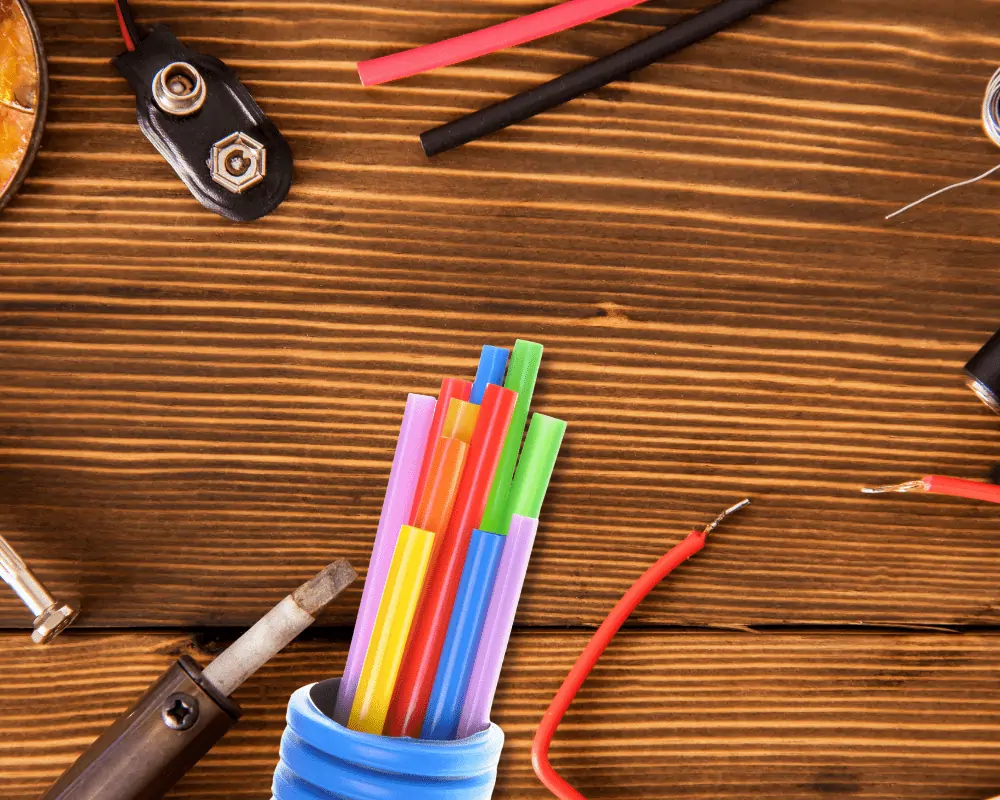
To repair the cable insulation on a metal detector that has exposed wires is a pretty simple fix. All you need is some shrink tubing, wire strippers, and a heat gun (or even a lighter).
Once you have all the necessary materials, simply cut off the damaged part of the insulation, slip on some shrink tubing, and then heat it up with the heat gun until it’s snug around the exposed wires. The shrinking only takes a second or two once the heat has been applied.
It’s important to make sure that you are careful when heating the shrink tubing so as not to heat up any nearby cables by accident.
Once the tubing has cooled and shrunk, your metal detector’s cables will be as good as new!
If the damage was more extensive than just insulation and a wire or two were cut all the way through, you don’t necessarily need a pro to fix this for you.
These cable breaks can be fixed with some basic soldering skills.
The only tools required are a soldering iron, some solder, and heat shrink tubing (optional).
If you don’t have any heat shrink tubing, you can use electrical tape as a temporary fix.
To repair the cable, start by stripping back the insulation on both sides of the break to expose about an inch of wire on each side.
Then, twist the wires together so they are touching but not overlapping. It’s important to keep these wires straight as even minimal kinking could cause more problems down the line.
Apply the soldering iron to the wires and hold it there until the solder melts and flows around the wires, holding them together. The amount of solder needed is usually pretty small.
Once the solder has cooled, slide on some heat shrink tubing (or electrical tape) and apply heat to shrink it.
Just be sure to tackle one wire at a time and stagger the length of the connection to avoid confusion and soldering the wrong lines together.
If everything went according to plan, your metal detector’s cables should now be good as new!
To avoid any future catastrophes, I recommend covering your metal detector cables in some Snake Skinz cable sleeves.
They’re great a protecting your cables from sharp objects, excessive temperature, and even chemical exposure.
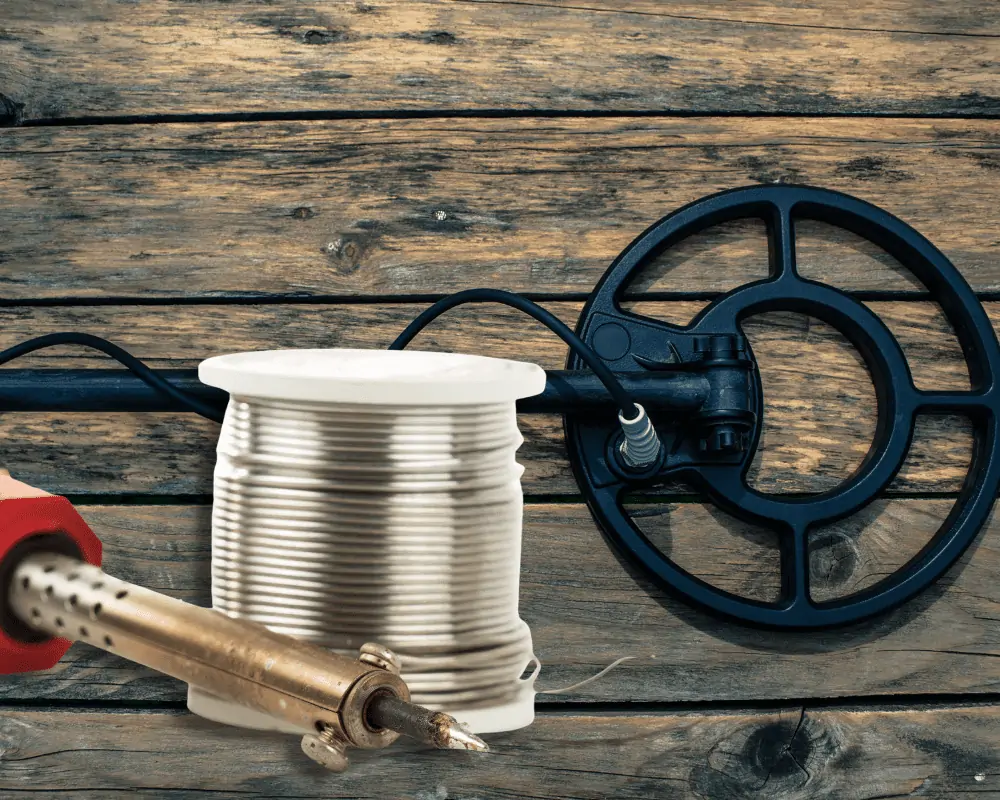
Search Coil Repair on Your Metal Detector
The search coil is the part of the metal detector that’s responsible for detecting metal objects.
It consists of a transmitter coil and a receiver coil wound around a central rod.
The transmitter sends out a magnetic field while the receiver is sensitive to any changes in that field.
When metal is brought into close proximity to the search coil, it disrupts the magnetic field and causes a change in voltage in the receiver coil. This change in voltage is then processed by the metal detector’s circuitry and translated into a signal that is audible to the user.
If your metal detector isn’t working properly, it could be due to a problem with the search coil.
There are a few things that can go wrong with a metal detector’s search coil.

The most common problem is that the coil becomes damaged. This can happen if the coil hits something hard, like a rock or metal pipe. It can also happen if the coil is dropped or otherwise abused.
Another common problem is that the search coil gets wet. This usually happens when the metal detector is used in humid conditions or around bodies of water.
So, how do you repair the search coil of a metal detector?
Fixing Cracks in Your Search Coil
If you do manage to notice cracks, no matter how small, along the surface of the coil housing, you’ll want to take care of it right away. These cracks leave your metal detector vulnerable to water and other minerals that can cause damage to the inner workings of your metal detector, like the coil wire itself.
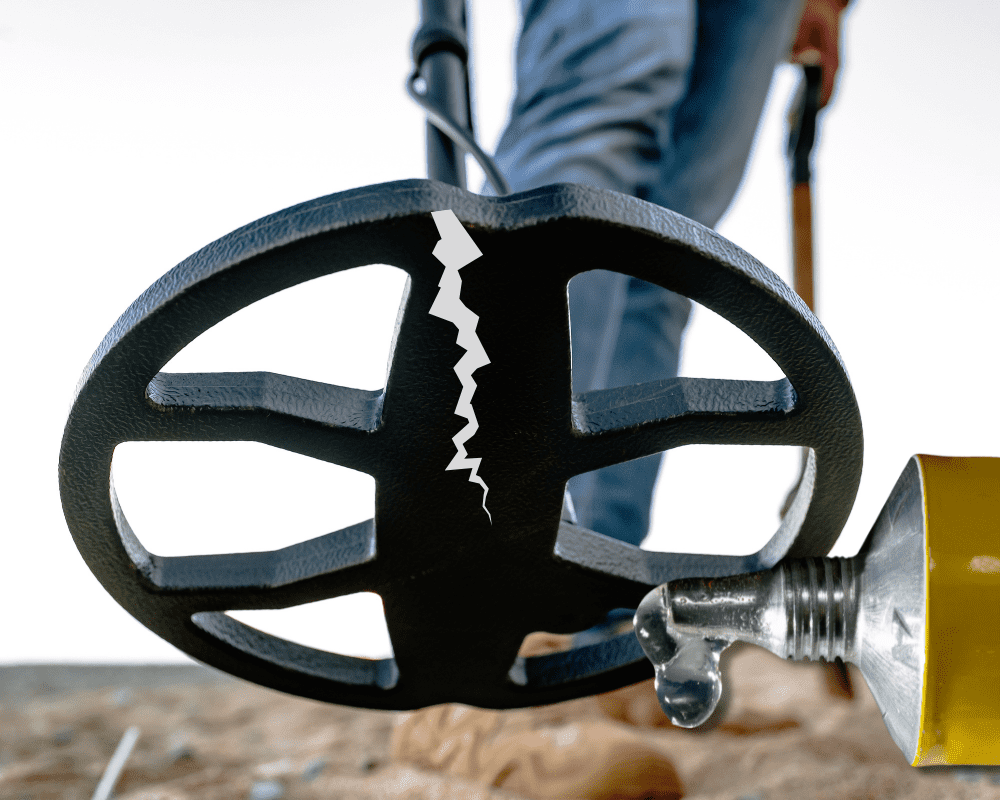
The best way to fix cracks in your metal detector’s coil is with some epoxy. I’d recommend picking up some J-B Weld reinforced epoxy. It’s a 2 part system that can mold together any material and is as strong as if you had welded the cracks shut. In addition, it’s waterproof so if you usually submerge your coil, you won’t have to worry about limiting your normal routine.
To get started, clean the surface of the coil housing with some isopropyl alcohol to remove any dirt or debris.
Then, mix the contents of the 2 J-B Weld epoxy tubes together and spread the mixture on the coil, wherever you find cracks or other vulnerable areas. After 24 hours, the epoxy will have dried and cured, allowing instant use with better protection.
Repair Broken Coil Ears
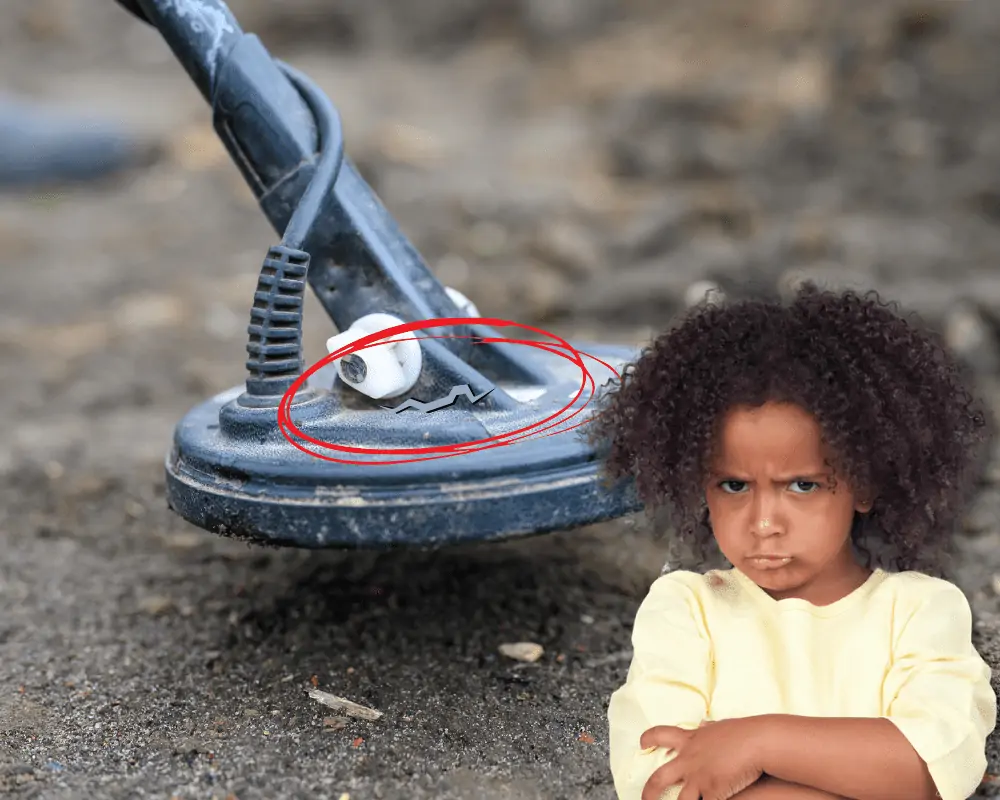
Coil ears are the metal loops that are found at the top of the search coil. They’re responsible for attaching the metal detector’s coil wire to the rest of the metal detector.
If your metal detector’s coil ears are broken, it can cause the entire search coil to be unbalanced and just unwise to use. If you do continue to use your metal detector while the coil ears are damaged, this can lead to all sorts of problems like false signals, reduced depth, general poor performance, and even further damage to your device.
Broken coil ears can usually be repaired with some super glue or epoxy. Epoxy is probably better considering it will hold up to repeated use a lot better than super glue, but in a pinch, super glue can work just fine.
To get started, you’ll want to remove the metal detector’s search coil from the shaft and the rest of the metal detector. This is usually done by unscrewing the retaining nut that’s holding it in place.
Once the search coil is removed, take a close look at the coil ears. If they’re just loose, you can try to reattach them with some super glue or epoxy. Just make sure that you don’t get any of the adhesive on the metal detector’s circuitry as that is never a good idea!
If the coil ears are completely broken, you’ll need to replace them. This usually isn’t too difficult as most metal detectors use standard-sized coil ears that can be found at any hobby store.
Once you have the new coil ears, simply attach them to the search coil using a standard epoxy. Make sure that they’re securely attached and had plenty of time to cure before reattaching the coil to the metal detector.
FAQs About Malfunctioning Metal Detectors
Now that you have a better understanding of the possible reasons your metal detector isn’t working and maybe even a solution to get you up and running again, let’s touch on some frequently asked questions that metal detectorists have about malfunctioning metal detectors.
How Do You Open the Coil on a Metal Detector?

The coil on a metal detector is usually attached to the metal detector shaft via a retaining nut. This retaining nut can usually be unscrewed by hand, but if it’s too tight, you may need to use a wrench.
Once the retaining nut has been removed, the search coil can be taken off of the metal detector. Be careful as there are usually wires attached to the coil that can be easily damaged.
To open the coil of a metal detector, you’ll want to use a sharp knife, like a box cutter to cut through the epoxy that’s holding the coil together. Slowly cut along the bonding all the way around the coil housing.
Once you’ve cut through the epoxy, you can carefully peel back the metal detector’s coil and access the inner workings.
While some suggest using a debonder on the coil first, I do not recommend this. The chemicals in a debonder can damage the metal detector’s coil housing, especially if made of plastic.
Some metal detector coils come equipped with a clip built-in that allows you to open the coil without damaging it or having to use any special tools. These are usually found on metal detectors that have waterproof coils as they allow you to clean the metal detector’s search coil more easily.
How to Improve Your Metal Detector
If your metal detector isn’t working as well as it should be, there are a few things that you can do to try and improve its performance.
Selecting the correct and optimal coil, using the best-suited frequency, regularly ground balancing, and getting more comfortable with the advanced settings of a metal detector will improve your metal detector performance and expectations.
Not all coils are created equal. Selecting the one that’s right for the job at hand and going with a larger coil for more range can really increase the odds of success in your next adventure.
Some other habits to get into to improve your metal detecting are to start checking for loose cables on a regular basis, always bring new batteries, and practice your swinging technique. Your speed, the angle of your swing, and height to the ground all play an important role in how well your machine is doing its job.
Can Your Body Set Off Metal Detectors?

The simple answer to this is no, your body cannot set off metal detectors. Metal detectors work by detecting metal objects that are in close proximity to the metal detector’s coil.
The human body is not made of metal and therefore cannot be detected by a metal detector. However, if you have any metal implants in your body, such as a metal hip or metal plate, these can be detected by metal detectors.
I say that they can be detected because it’s not 100% guaranteed. The metal in your body implant may be too small or too far away from the metal detector’s coil to be detected.
Studies have been done on travelers who have metal implants, and detection of these metals, when screened by security, has been inconsistent.

Ultimately, if you do set off alarms because of an implant, you’ll just have to proceed to a second screening involving a wand or physical search.
Final Thoughts
I hope that this article has helped to answer some of the questions that you may have had about metal detectors and their performance.
While metal detectors are a great tool, they are not perfect and do require some regular maintenance to ensure that they are working properly.
If you ever feel overwhelmed about repairing your metal detector or don’t feel comfortable doing it yourself, always remember that there are metal detector professionals out there who can help.
Until next time!