The number of ways there are to clean relics, coins, and other metal detecting finds never seems to end. Everyone has a suggestion or twist on an old method that they’re positive is the difference between ruining all value of your newfound treasure, or bringing a piece of history back to life.
Granted, there are plenty of ways to get what you want, and each situation may call for a different process.
But electrolysis is quite possibly the safest, fastest, and best method to clean your relics and other lost items you’ve dug up.
In this fourth installment of our cleaning series, we’ll jump head first into electrolysis to find out how it’s done, why it’s better, and answer all the questions you might have to get started cleaning today.
So, let’s go!
** Disclaimer ** – If you are looking to clean a relic of any significant value or importance, or just want to be sure, stop what you’re doing. Check with a professional first as cleaning may likely decrease the value and erase some historical details.
How Does Electrolysis Remove Rust?
In our second article of the cleaning series, we discussed the best ways for you to clean iron found metal detecting.
We suggested electrolysis for its ease of use and effectiveness at removing rust and other corrosion that built up over time.
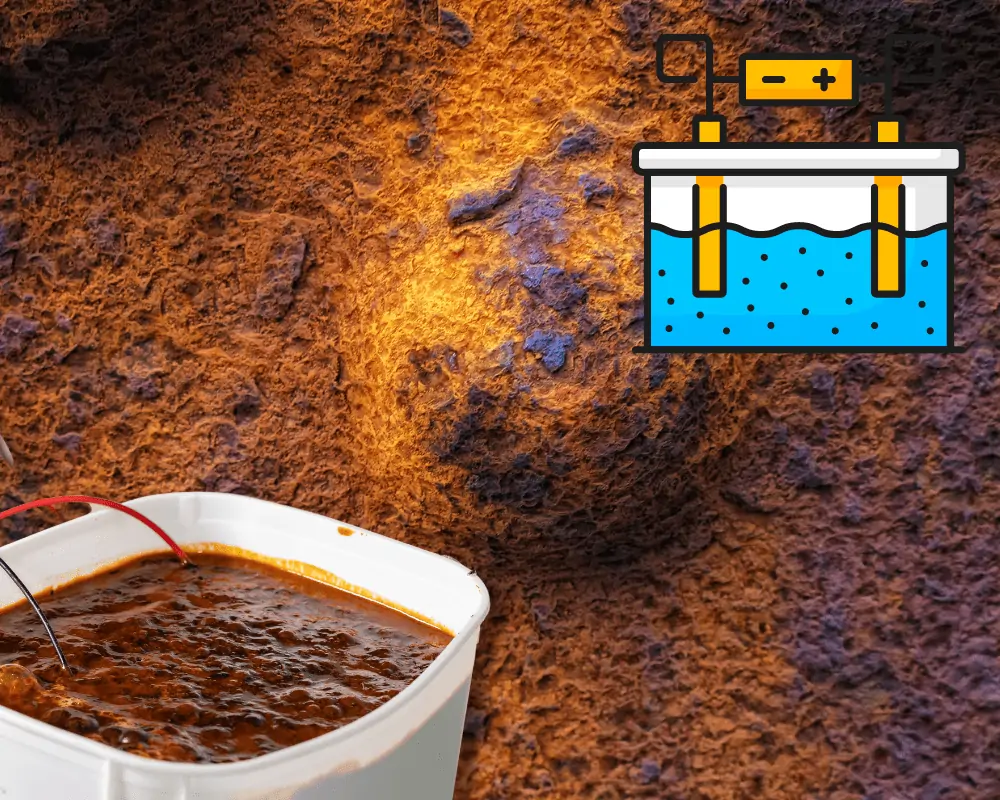
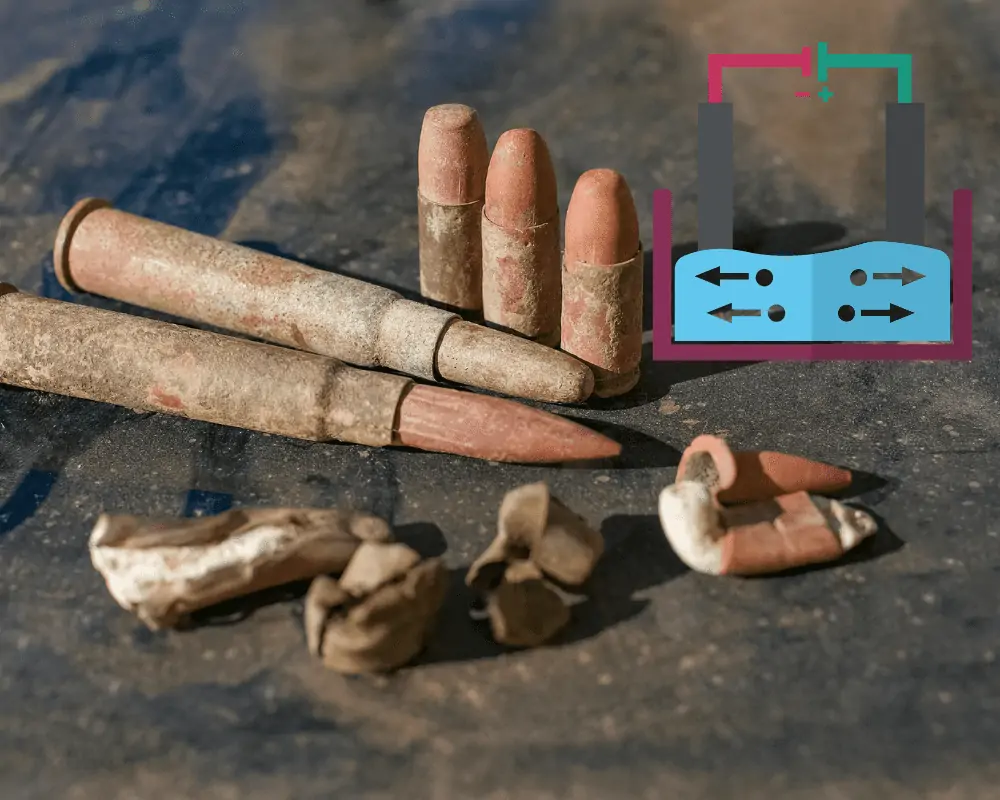
You see, electrolysis is able to safely remove rust because the electrical current running through a conductive solution creates a chemical reaction that induces ions. These ions assist in the transfer of oxide from one metal object to another sacrificial object.
While it may sound a little complicated, the process itself is very easy to conduct and control within your own home.
Metal Detecting Electrolysis Kit

If you’re looking to pick up a readily prepared electrolysis kit, there are some available online.
Honestly, you’re better off building your own electrolysis kit. The kits you find online will give you the bare minimum and you’ll probably end up having to buy some additional pieces anyway to get the results you’re looking for.
What will you need to make your own metal detecting electrolysis kit?
At a glance, you’ll need:
- Electrolysis Tank – You can make a tank out of anything really. The only 2 requirements are that the container is non-conductive and is big enough to hold everything else during the cleaning process. For instance, you could use a Home Depot bucket, a plastic storage bin, or even a big plastic trash can.
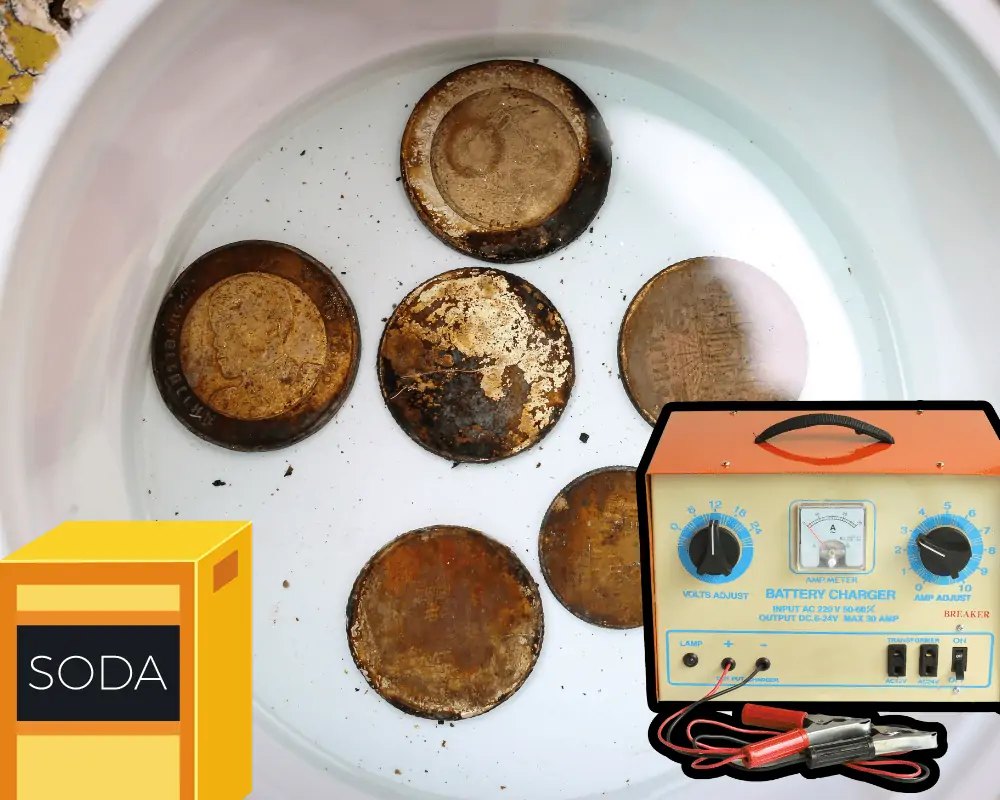
- Power Source – To produce your electrical current you’ll need a manual battery charger. I say manual because the automatic chargers have the bad habit of turning off on their own before the process is done.
Here’s one we’ve used if you’re looking for something to get started with.

- Up to 10 amps
- 12 to 17.5 volts
- Made specifically for electrolysis use
- Weighs only 2.05 pounds
- Warning red light for charging errors
If you do get something else, just make sure you have 2 cables (positive and negative) to connect the power source to the corresponding metals.
- Conductive Solution – You don’t need any special formulas when picking a good solution to dip your metal into. Just make sure you choose a mixture that supports the electrical flow of your current.
- Anode – An anode is the piece of metal you select as a sacrificial piece to decay as the chemical reaction removes any oxidation from the metal you are cleaning.
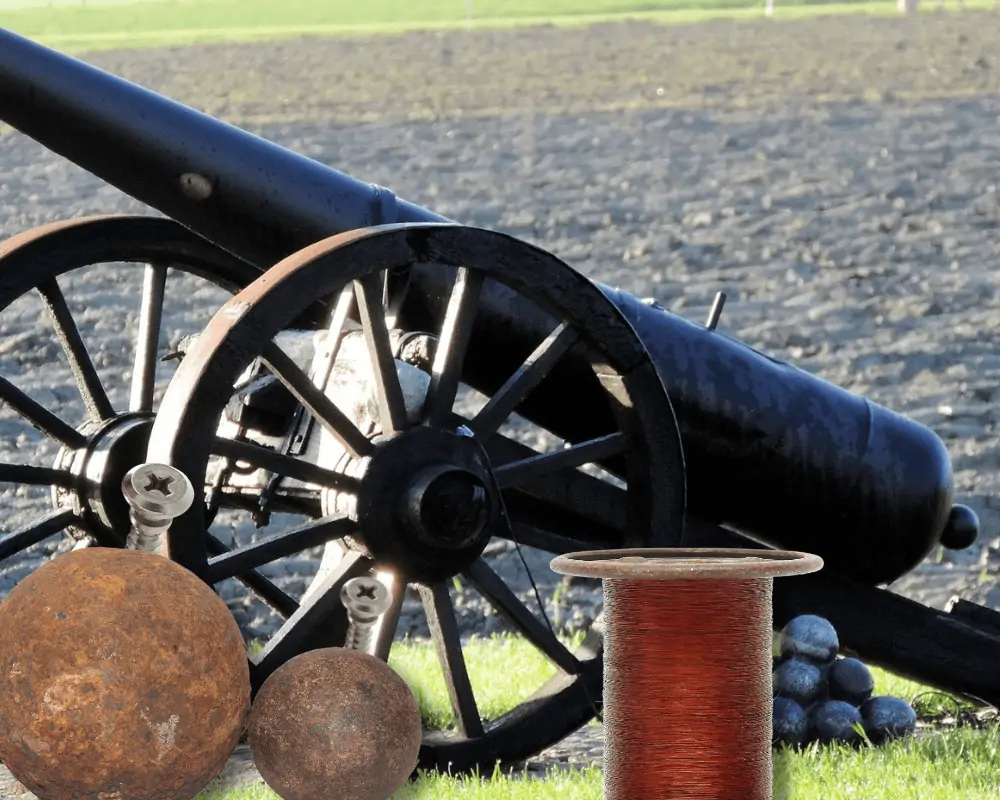
- Copper Wire – Having some spare copper wire will come in handy if you have any trouble connecting your positive and negative wires to the metal. Copper is very conductive and can ensure your electrical current doesn’t get lost in transmission.
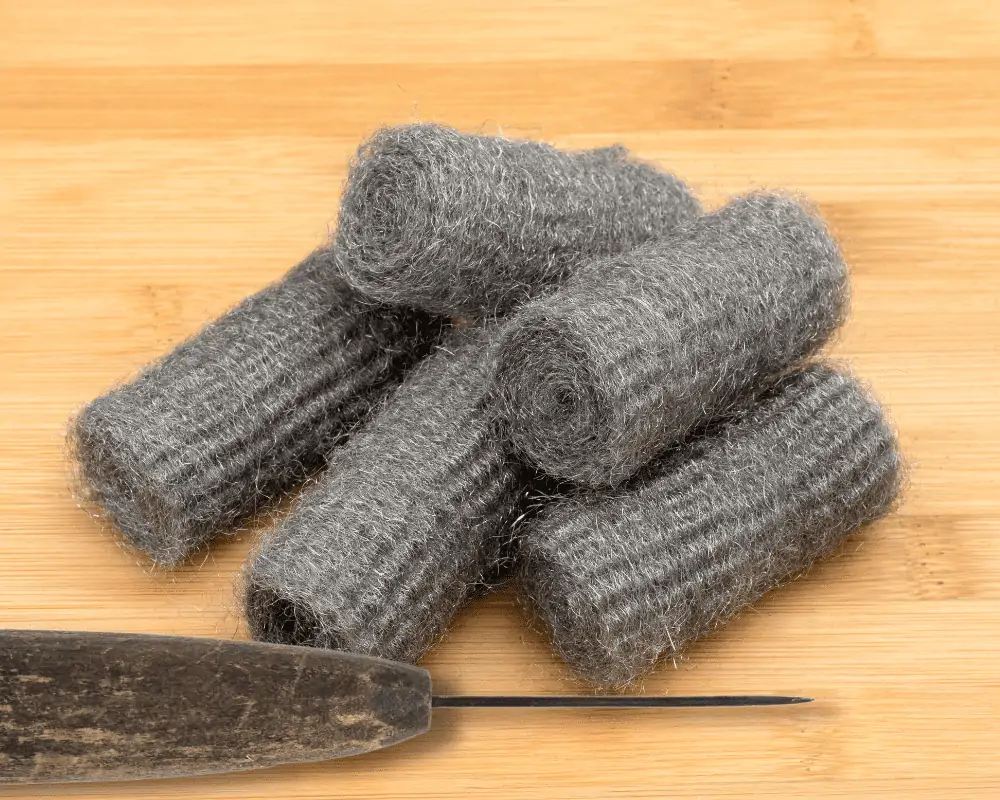
- Soft Bristle Brush, Awl, or 0000 Steel Wool – There may come a point when the metal you want to clean is so corroded in rust that you can’t get a clean connection with your clamps. It is essential that your connection is as pure and direct to the base surface metal as you can get.
If the rust on your metal is tough to remove and you find yourself getting frustrated, try using a non-abrasive tool to clear off a small surface area.
0000 steel wool is a super fine pad used to clean off a surface with tough materials without leaving behind any visible scratches in most situations.
Or give an awl a try. An awl is a thin steel scratch tool that allows you to meticulously scratch away at the rust built up on your metal. It allows you to take more care and limit the area you are attacking so no accidental damage occurs.
And that’s it! Those are the basics of everything you will need to make your own electrolysis kit. Granted, there are other items you might need for preservation or some unique scenarios, but without these foundational pieces, you won’t be cleaning much.
With that said, please understand that there are many variations of a good electrolysis machine, and in most cases, you won’t notice too much of a difference from one to the other.
But in our opinion, there are some choices that we believe are better for you relic cleaning than others. So, let’s talk about the details before gathering all your supplies.
Best Solution for Electrolysis?
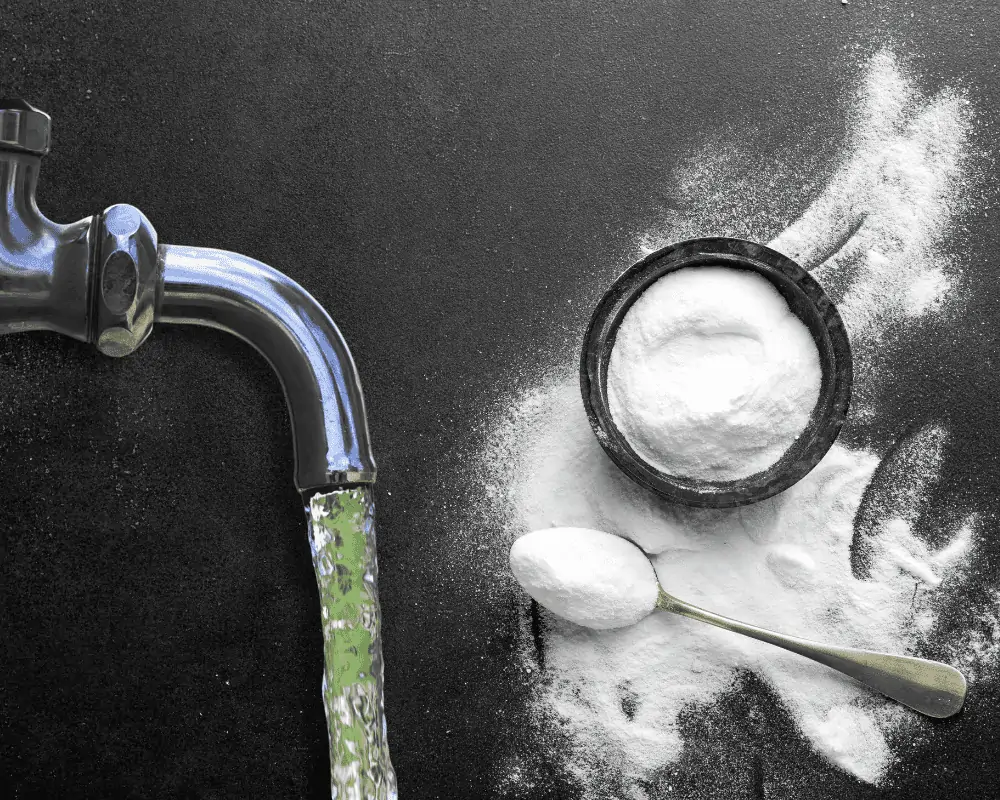
The best electrolyte solution for electrolysis is a mixture of water and baking soda.
The general consensus on the baking soda to water mixture is you should use roughly 1 tablespoon of baking soda per gallon of water.
It’s been asked if distilled water would be better, but regular tap water is the preferred method. Distilled water just doesn’t have enough conductivity to support the electrical charge needed. Even tap water isn’t the best conductor but it’s better than you get with distilled or deionized water.
When baking soda, which is an electrolyte, is mixed with water, it increases the conductivity of tap water so that the flow of electrical current can take place.
I’ve noticed that others have recommended using table salt instead of baking soda but I wouldn’t suggest this.
Using table salt will produce chlorine gas rather than oxygen. Chlorine in gaseous form is toxic.
Best Anode for Electrolysis?
Using stainless steel is a very popular choice for an anode metal. The main reason is that stainless steel is easily available and affordable.
When you need an anode to simply act as a sacrificial piece to the cleaning process, you don’t generally want to spend too much on it.
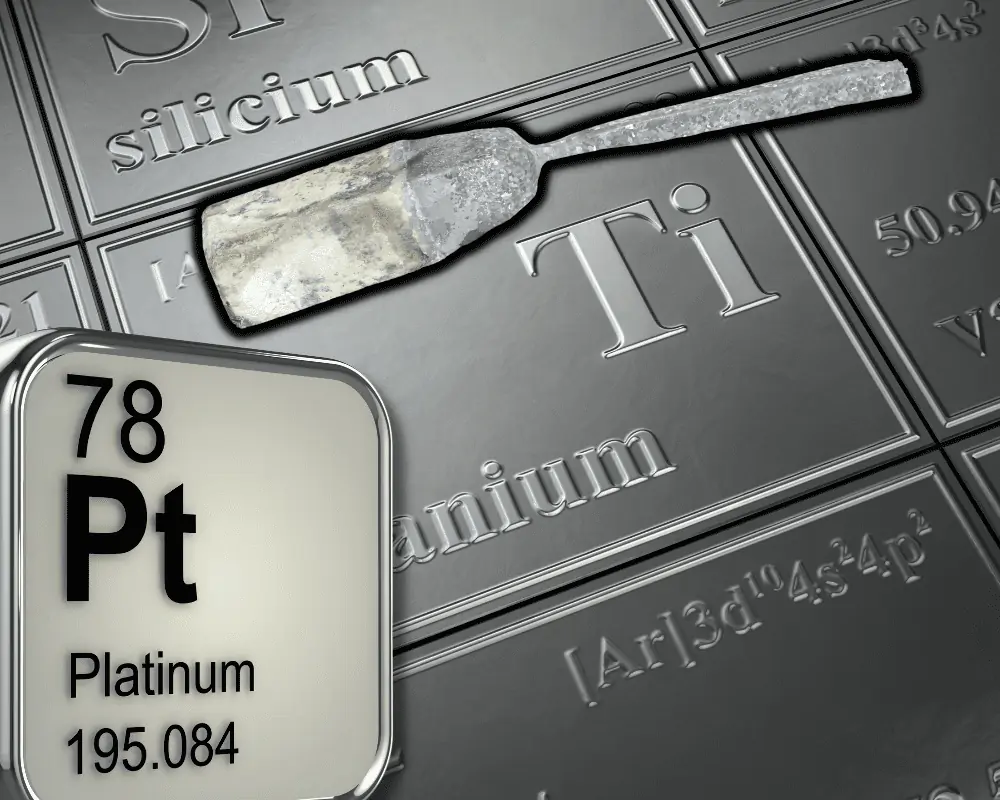
However, the best anode for electrolysis is platinum-coated titanium.
While platinum is a premium anode material for its durability and resistance to corrosion, the cost just doesn’t seem worth it.
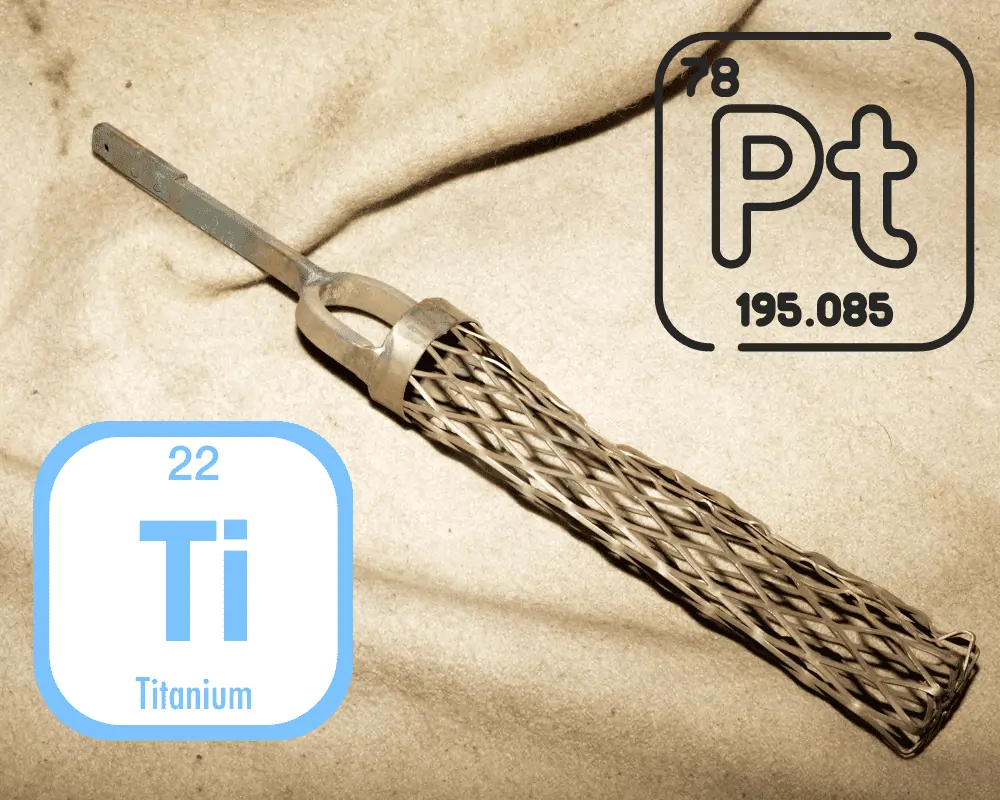
Whereas, platinized titanium holds up as well as platinum but is much more affordable as a sacrificial anode.
Another excellent alternative is to use pure graphite rods or plates.
Whichever you decide, you want to get the most use out of your anode choice that you can. And consider the possibility of using multiple pieces, as the best method is to try and surround your rusty relic with your anode.
The closer your anode is, the faster the electrolysis process will work.
Current for Electrolysis?
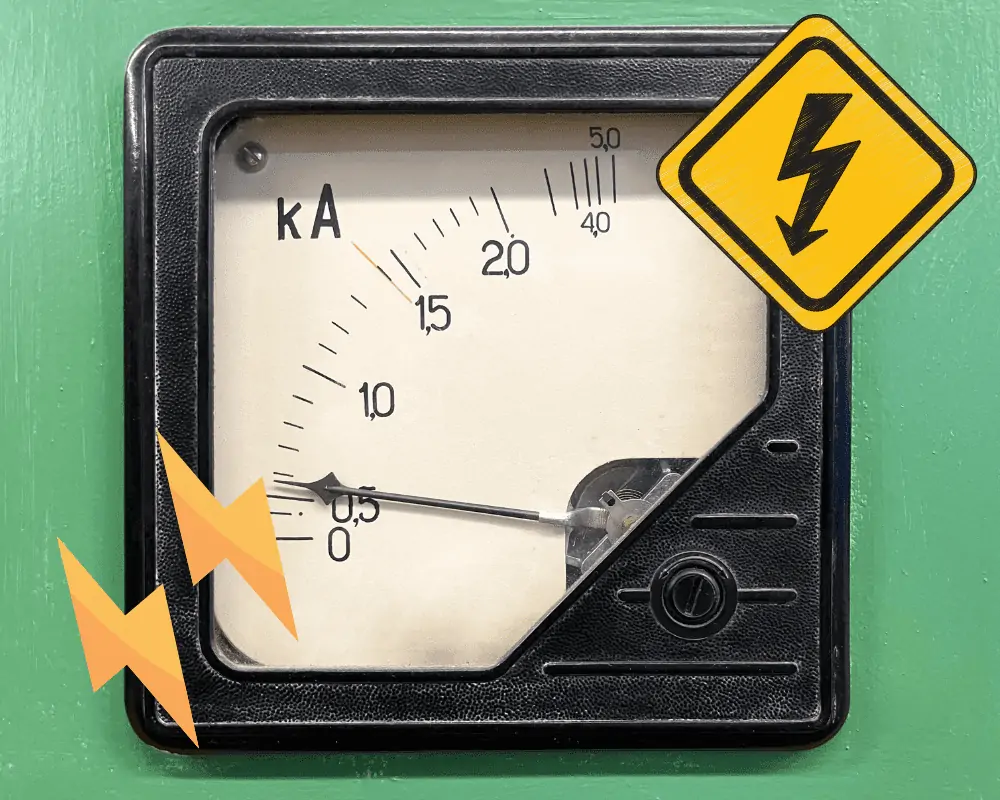
The current you choose to run on your electrolysis machine can certainly affect the outcome of your cleaning trial.
In almost any case, I recommend starting at 2 amps unless you have some experience in cleaning the same metal with electrolysis. But often, the best amperage current for electrolysis is between 5 and 15 amps.
This all comes down to several factors like the amount of rust on the object, how close the anode is to the cathode, and how large your rusty object is.
There are scenarios where starting as high as 15 amps are acceptable, especially when working with metals like wrought iron.
But be careful with certain metals in smaller amounts. For instance, coins don’t generally require much time in an electrolysis tank and too high of amperage can do more harm than good.
How to Prepare a Rusty Relic for Electrolysis?

If you’ve got all your supplies and you’re ready to turn on your manual battery charger and start removing all the grime and rust, I ask that you be patient for just a moment.
There are some other factors to consider before beginning and I’d like to take a minute to go over them. This way you can expect a flawless process with the best results.
First, we briefly mentioned it already but you need a clean connection point on your relic. Rust is not conductive, and it actually acts as an insulator.
This means that any areas of your relic that are still rusty (only where the connection is made) will not be cleaned during electrolysis. You’ll need to remove all the paint, grime, and rust until you have a clean metal surface to work with. At least, as clean as possible for the best outcome.
You also want to make sure you have enough electrolyte solution in your tank so that your anode is completely submerged.
You don’t need a ton of electrolytes, but you want to make sure there’s enough to ensure the entire process will work as intended.
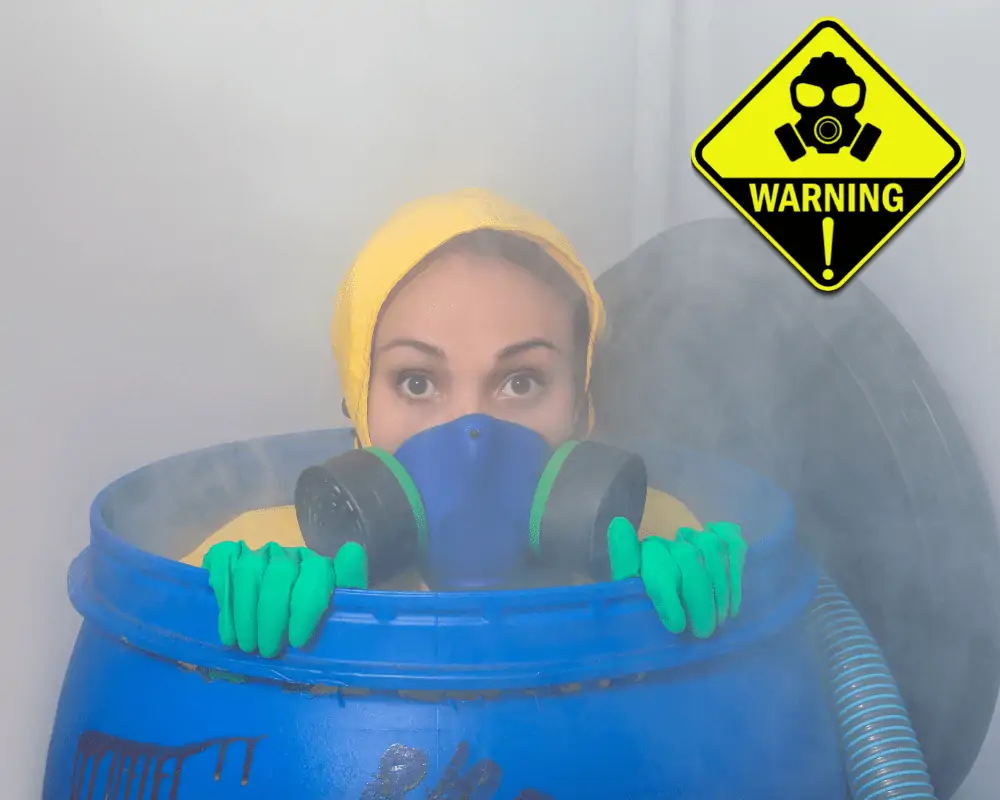
In addition, set up your machine and cleaning process in a well-ventilated area.
You don’t want to breathe in large amounts of the fumes that electrolysis produces.
Another thought to consider is where your artifact was found. If your relic was found submerged in saltwater, you’ll want to make sure you remove any trace of seawater.
The lingering salt from the ocean will react negatively in your tank during the process.
The best way to prevent this is to soak your metal relic in hot water, and brush off any loose rust or dirt from the metal surface. A wire brush is suitable for removing any dirt or rust clinging to the 1st layer of metal.
Furthermore, if your positive and negative clamps do not securely attach to the metal, consider using some copper wire to help with a good connection point.
Wrap the wire around the metal surface and twist it tightly to ensure there is a good connection.
You can also use a screw or some sort of metal “rod” to secure your relic while providing a stable flow for the electrical current.
Actually, I prefer this method as I try not to submerge the cable clamps in the water if it can be helped. Given enough time, the electrolyte solution will eat away at the metal and shorten the life of your clamps.
Finally, be careful to attach the right connections to the anode and cathode. Getting this wrong will result in a very short electrolysis process as your relic will quickly be made worse.
I would hope your power supply would be clearly marked but just in case, you could test your cables before attaching them to their respective pieces.
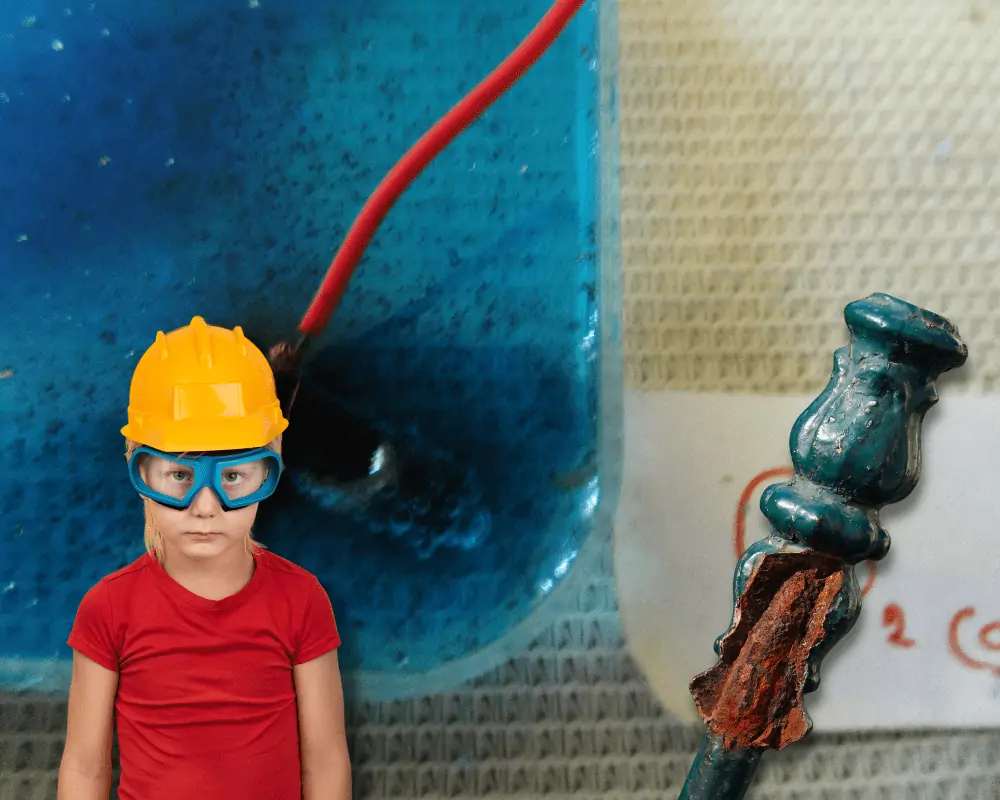
To test them, turn on your power supply and dip your two clamps into the solution. After a moment, you will see that one of the clamps will start to bubble.

This is the cathode and it should be connected to your relic. The other clamp will not have any reaction and that is the anode which will need to be submerged in the electrolyte solution.
And that’s it!
You’re ready to start the electrolysis process and watch all the rust magically disappear before your eyes. Just kidding, it’s not magic…but electrolysis is pretty darn close!
Electrolysis for Iron Relics
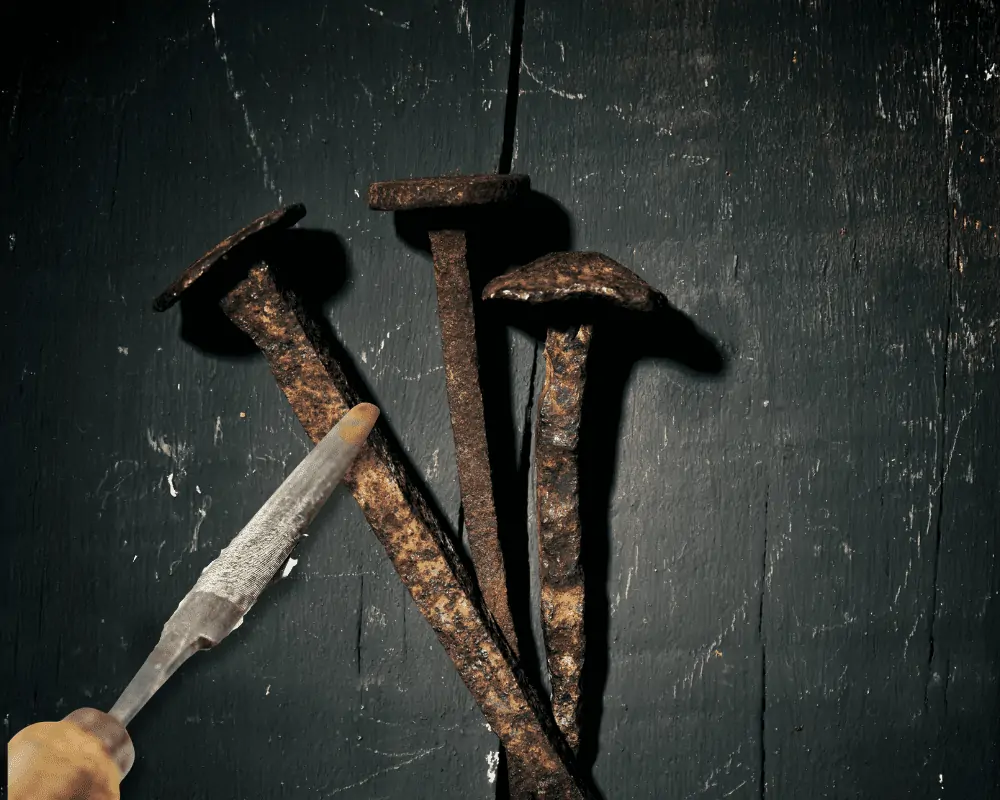
The most common relics that people want to clean are iron artifacts.
This is likely because they’re the most commonly found, but also because they’re usually in the worst condition.
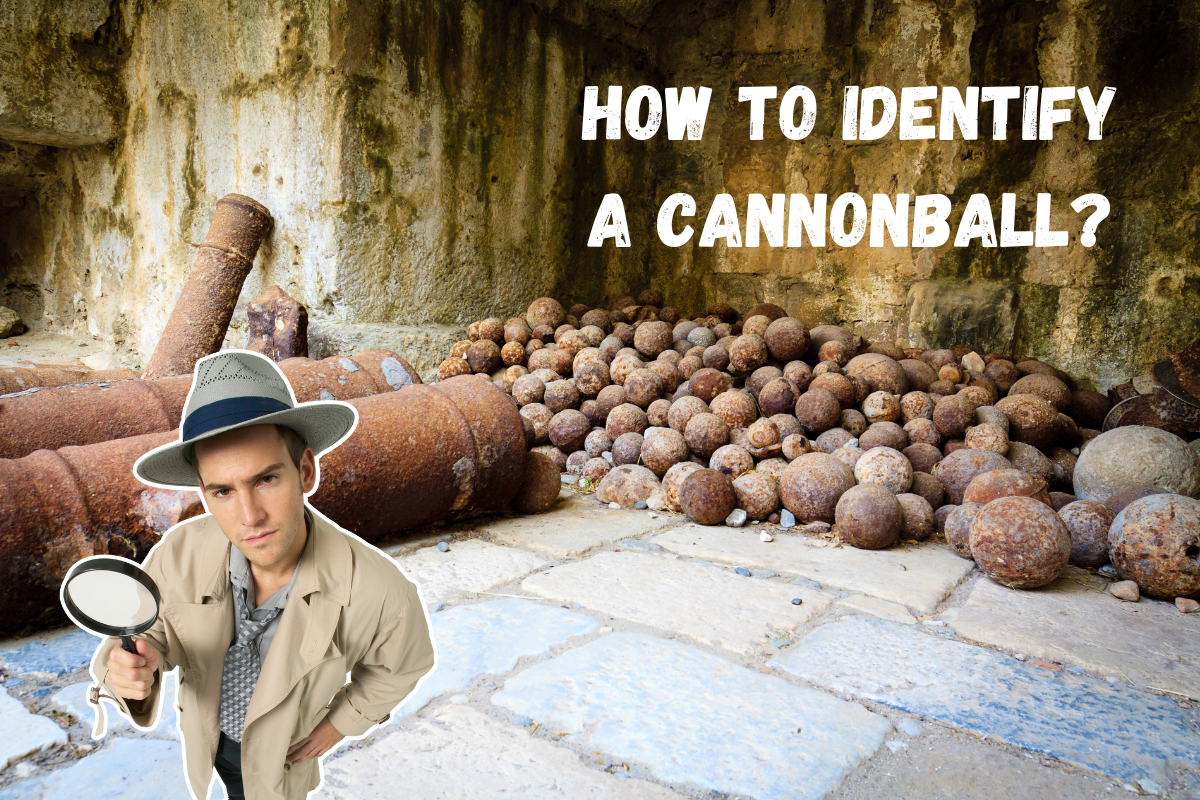
If you’ve dug up an old rusted cannon ball or other iron relics, electrolysis is going to be your best bet for cleaning it.
But other metals can be cleaned with electrolysis as well. This includes coins, silver coins, and copper.
If you have everything set up and prepared for your relics, go ahead and submerge them in the solution and turn on your power supply.
Set your volts/amps to the desired setting. You can do some research on the type of metal you are cleaning beforehand to learn from others’ mistakes. But if we are talking about iron, you can go as low as 3 amps and a common high of 10 amps.
While 3 amps are perfectly ok, I would expect the rust removal process to take several days, especially with larger objects.
Using 10 amps should let your iron relic clean within 24 hours in most cases.
If you’re in a hurry, feel free to turn up the amps but just be aware that you could cause electrolysis pitting which is when small craters form on the metal surface.
This is due to too much current being pushed through the metal and can be easily avoided by monitoring your process.
And monitoring is a good policy in general. Get in the habit of checking on your running electrolysis machine at least once or twice a day.
This will let you catch any potential problems early on and save your relic from further damage.

You’ll know the process is complete when the rust has visibly flaked off when and turned the water a dark brown or reddish color.
If your water is still clear after 24 hours, you can turn up the amps a bit and check again in 12 hours.
Once the electrolysis process is complete, it’s time to remove your relic from the solution and rinse it off with clean water. Don’t forget to turn off your power supply and disconnect all your cables.

If there is any stubborn rust that remains, you can use some Scotch-Brite pads, a wire brush, or steel wool to lightly scrub it away.
Don’t apply too much pressure as you could damage the metal.
The leftover solution in your tank should not be toxic or harmful if you followed all the steps. So disposing of it down the drain is perfectly fine.
Just be sure to rinse out your tank thoroughly before using it again.
Black Residue After Electrolysis

Once you’ve removed your relic from the electrolyte solution, you may notice a black residue on the surface of the metal.
This is completely normal and is just black oxide, created by iron oxide and the impact of electrolysis.
It can be easily removed with some 0000 steel wool or even just running it under some hot water while you use your hand to brush it away.
How to Prevent Rust After Electrolysis
Now that your new relic has been cleaned and you’re glowing with excitement from your electrolysis success, it’s time to take some preventative measures to make sure it doesn’t rust again.
Yes, it can rust again. In fact, it will rust again if you don’t take steps to protect it. Because you’ve dug up this beautiful piece of history, you are exposing it to oxygen and possibly even water. Both of these can lead to rust.
The best way to prevent rust after electrolysis is to thoroughly dry it and seal it with wax. Possibly a heated paraffin wax or microcrystalline wax.

To get your relic completely dry, I would recommend baking it in the oven first.
You can use a lower temperature of 200 degrees Fahrenheit for around 4 hours and then let the relic cool before applying the wax.
You’ll know when to apply the wax when the relic is still hot to the touch but not scolding.
Then, just apply a thin layer of wax all over the relic.
You can use a brush, your fingers, or even a cloth. Just make sure to evenly apply it and get into all the nooks and crannies.
FAQs About Electrolysis for Relics

While we didn’t cover every last detail regarding electrolysis for your relics, we hope that we covered enough to make you comfortable with doing it on your own.
But just in case, here are some frequently asked questions about electrolysis to give you a better understanding of the process.
Can You Clean Coins with Electrolysis?
Yes, you can clean coins with electrolysis!
But you should be aware that the amount of time it takes is far less than other larger pieces of metal.
If you leave your coins for longer than a minute or so, you risk exposing them to too much electrical current.
This can cause the coins to lose any detail or value as the electrolysis process might start to attack the coins’ features after the corrosion has been removed.
Your patina will certainly suffer and disappear which most coin collectors don’t want to happen. So, while you can use electrolysis to clean coins, I wouldn’t recommend it.
There are safer ways to clean coins than electrolysis.
Cleaning Silver Coins with Electrolysis

Just like regular coins, you can use electrolysis to clean silver coins.
Silver holds its’ value extremely well and cleaning it isn’t as destructive as cleaning a copper or bronze coin is.
But know what kind of metal you are dealing with. If your silver coin is an alloy and composed of other easily corroded metals, you risk damaging it further.
To learn more about cleaning silver coins, head on over to read our article on cleaning coins from the ocean where we specifically detail other methods to use on silver.
Does Electrolysis Damage the Metal?
This is a common electrolysis question and the answer is no, electrolysis does not damage the metal if done properly.
The process of electrolysis actually preserves the metal by removing any corrosion that might have eaten away at it.
It is specifically used to remove rust (iron oxide), so when cleaning other items besides iron, you will want to carefully plan your process. While electrolysis won’t damage the metal, it can ruin the value (patina on a coin).
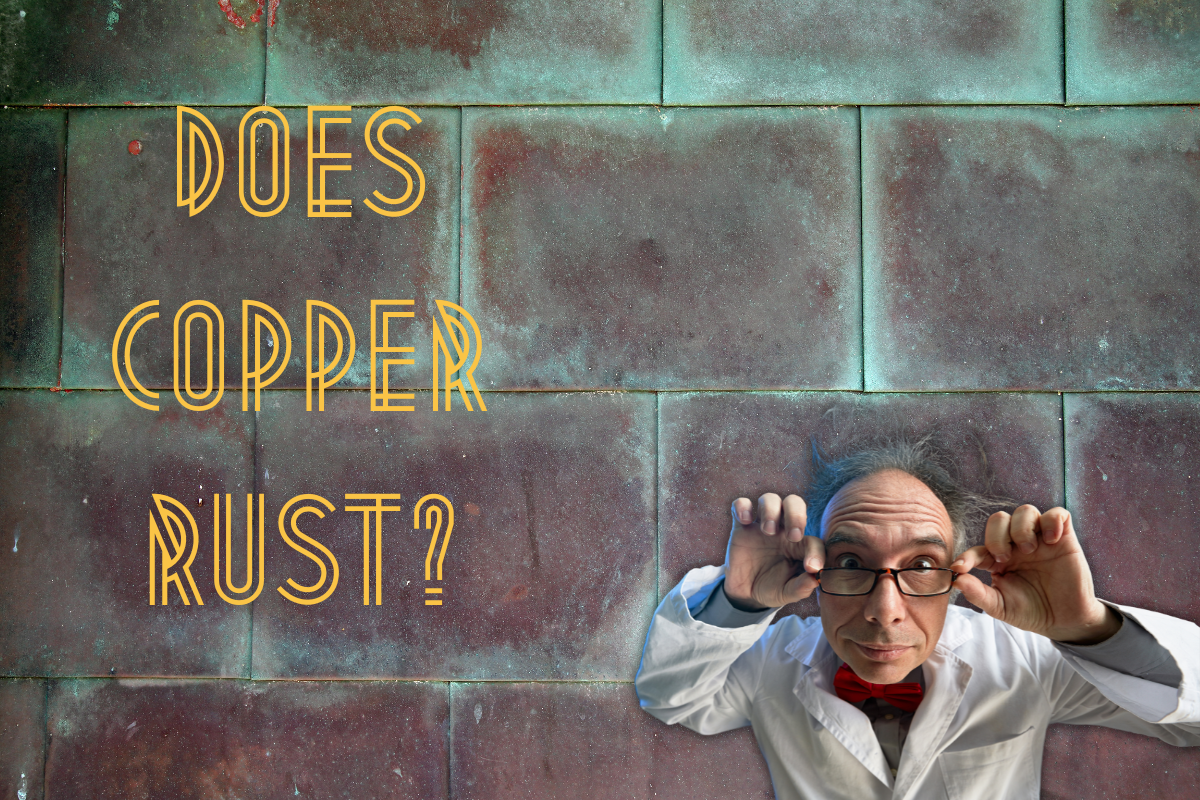
Can You Clean Copper with Electrolysis?
Yes, electrolysis can be used on copper!
And it’s actually a common method for cleaning this metal. Although, with copper being such a soft metal, it would not be my first choice.
Copper is found in a lot of old coins and electrolysis is one of the few ways to clean them without damaging the coin.
To learn more about safely cleaning copper, read our article on cleaning copper coins found in the ground.
Conclusion
We hope that you enjoyed this electrolysis for relics guide and got some real value to try out on your own.
Just remember to take your time, be patient, and have fun with it!
Electrolysis is an excellent way to clean relics. It’s safe and easy to do as a first-timer. And if you ever get stuck, there is no shortage of walkthroughs available online.
Be on the lookout for the next and final installation of our cleaning series. We will be detailing exactly how you should clean your metal detector for a longer-lasting life.
Until next time!